My clients Shruti and Gaurav had a busy schedule and lots of friends that stay over, so this living room design was based on making it beautiful and economical for Shruti and Gaurav while making it fun, lively, and comfortable for their friends. When I was done with the design, their stack of 12 x 12 canvas family photos that were still in their original box when I 1st met them finally found the perfect spot on the wall. Do you love the fireplace wall? Before the transformation, it was completely white and had NO mantle. Can you image it? Find out below how the mantle was added, how we saved money using paint, how my short to-do-list (just 8 things added to list) made a HUGE difference in transforming this room.

THE LIVING ROOM TO-DO-LIST
(ECONOMICAL + ELEGANT)
- (to fireplace wall) stencil the wall with green paint wall – use Moroccan trellis design
- (to fireplace wall) construct + mount + stain a wood fireplace mantle ledge to hold decorative items
- (to sofa) add colorful pillows to the current sofa
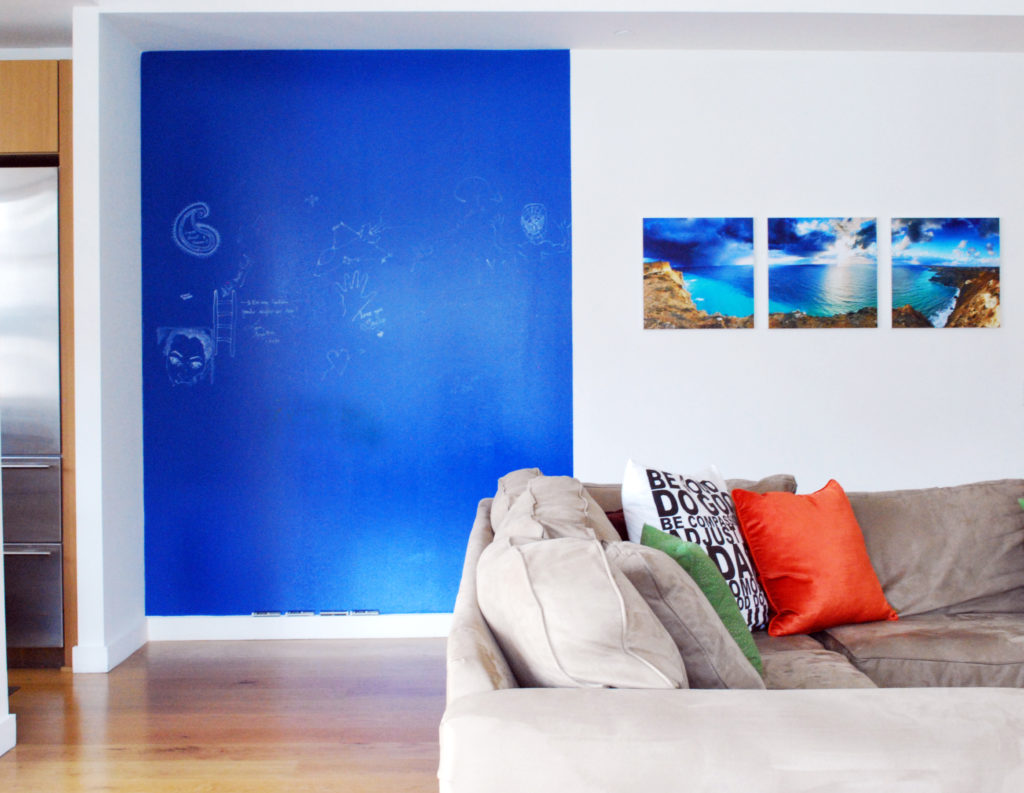
- (to wide bland white wall) divide it using blue paint on the left side and a 3 panel photographic art on the right side
- add ceiling light fixture
- replace current TV stand with a more decorative one
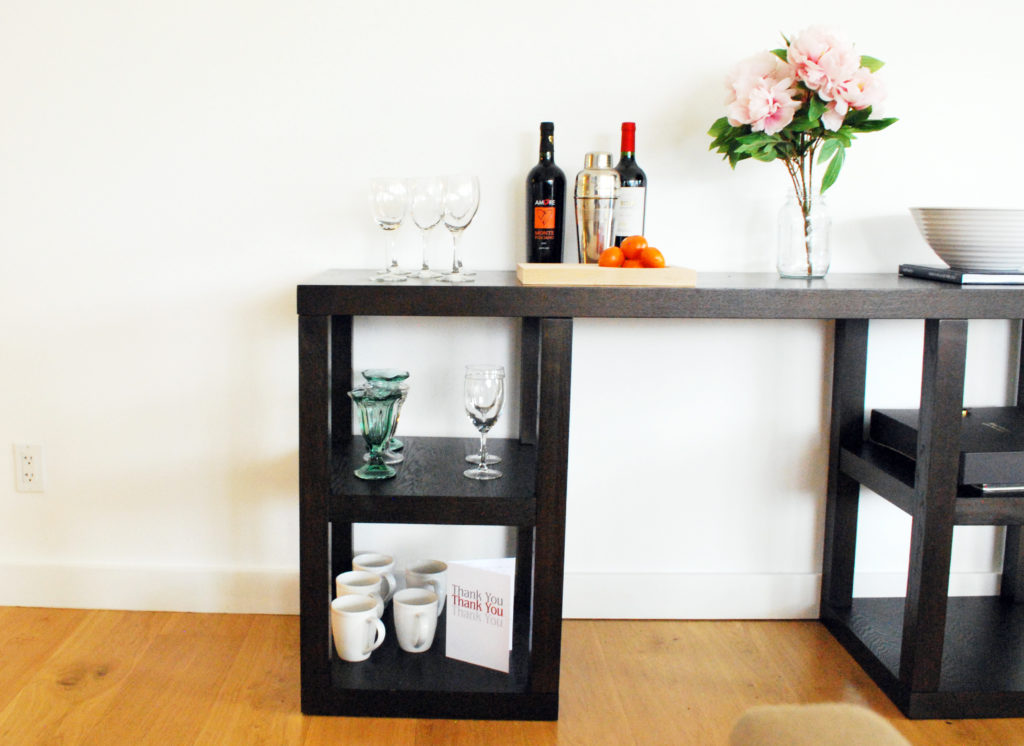
- create a bar / snack area + style it
- style the fireplace
BEFORE INSTALLATION
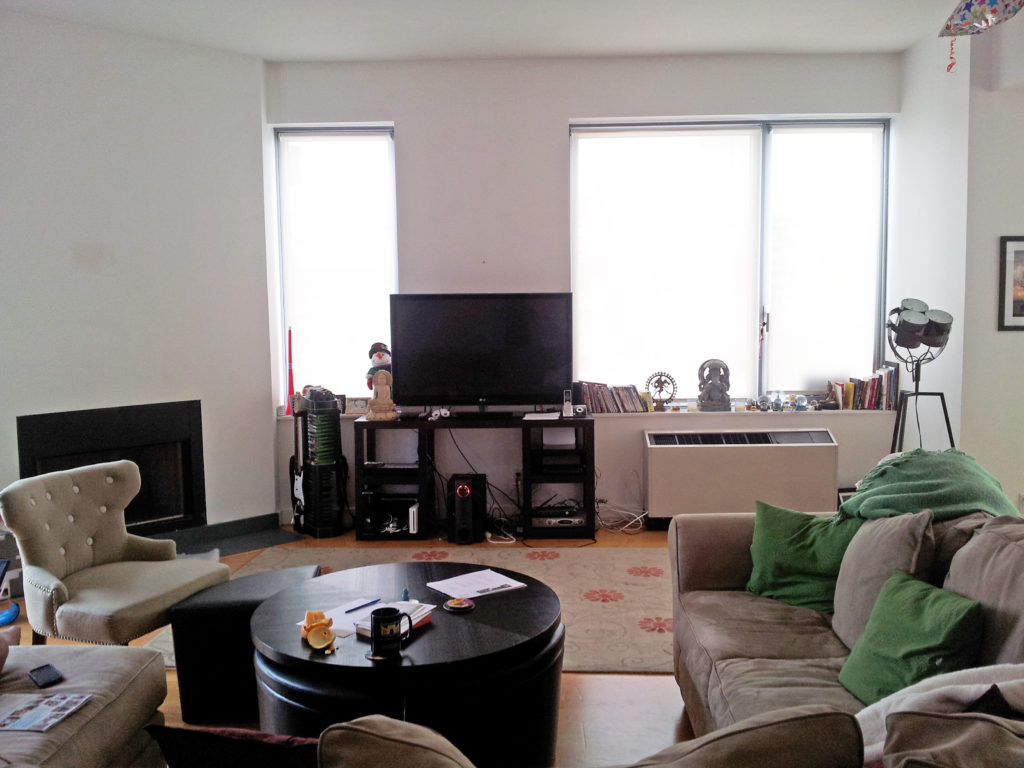
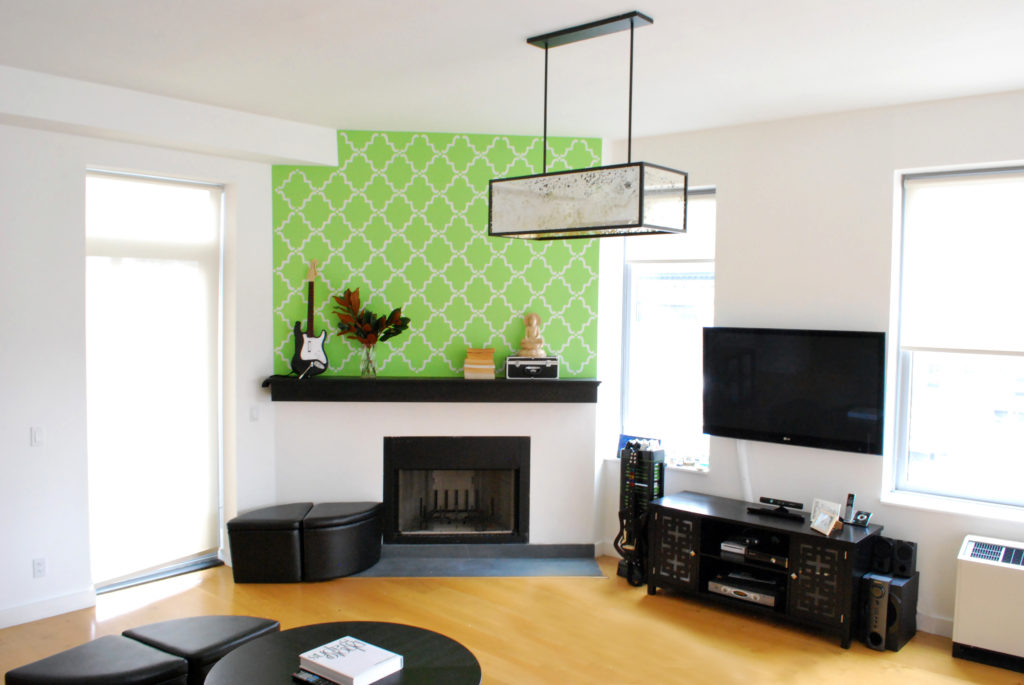
STEPS FOR THE FIREPLACE ACCENT WALL:
- With 1 gorgeous stencil paint the top part of the wall
- Construct a 5 sided box shelf / ledge from wood planks that are cut to size with a decorative molding at the top edge
- Mount the ledge to the wall using anchors
- Caulk the sides of the box shelf for a seamless finish
- Stain the wood (showing the beautiful wood grain!)
- Invite friends and family over to show your ‘new’ home
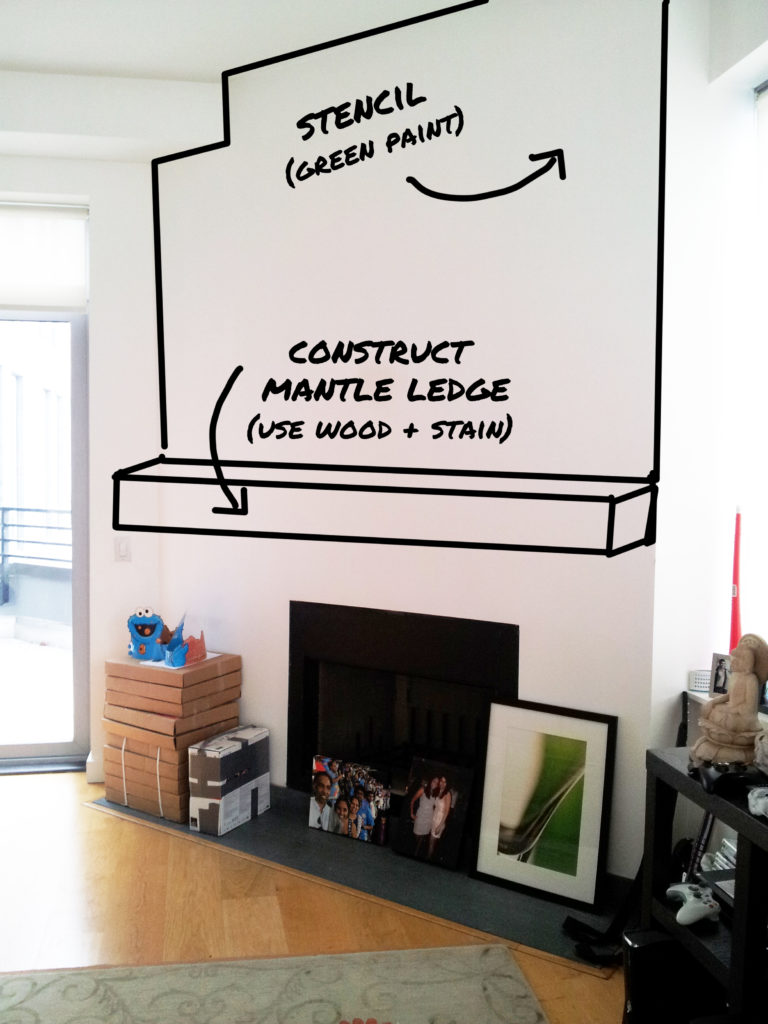
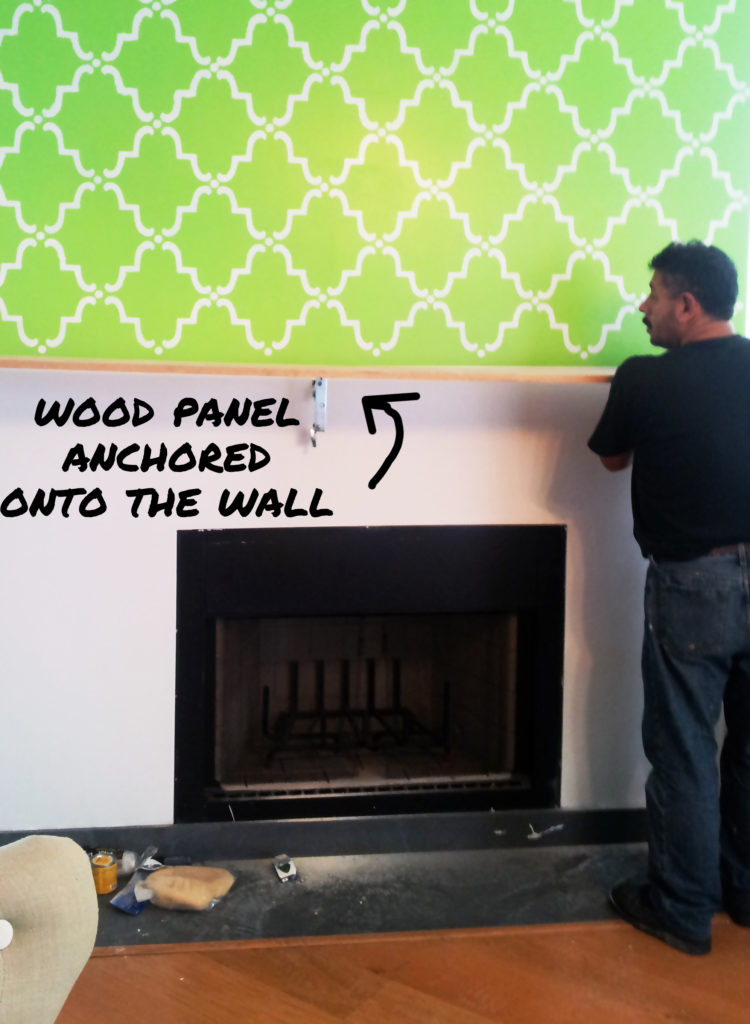
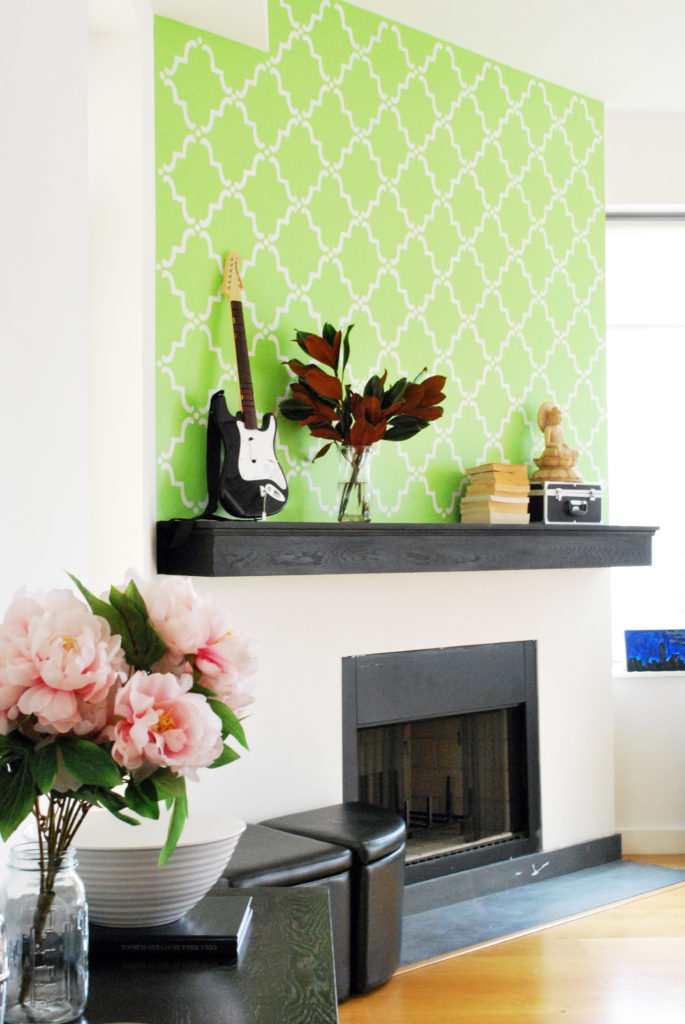
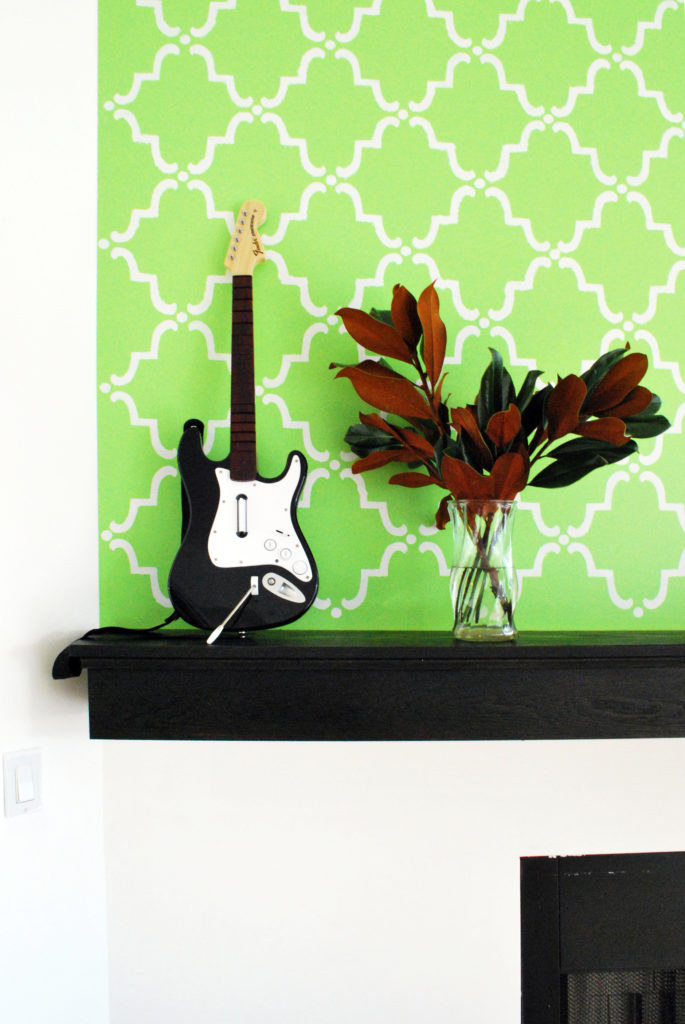
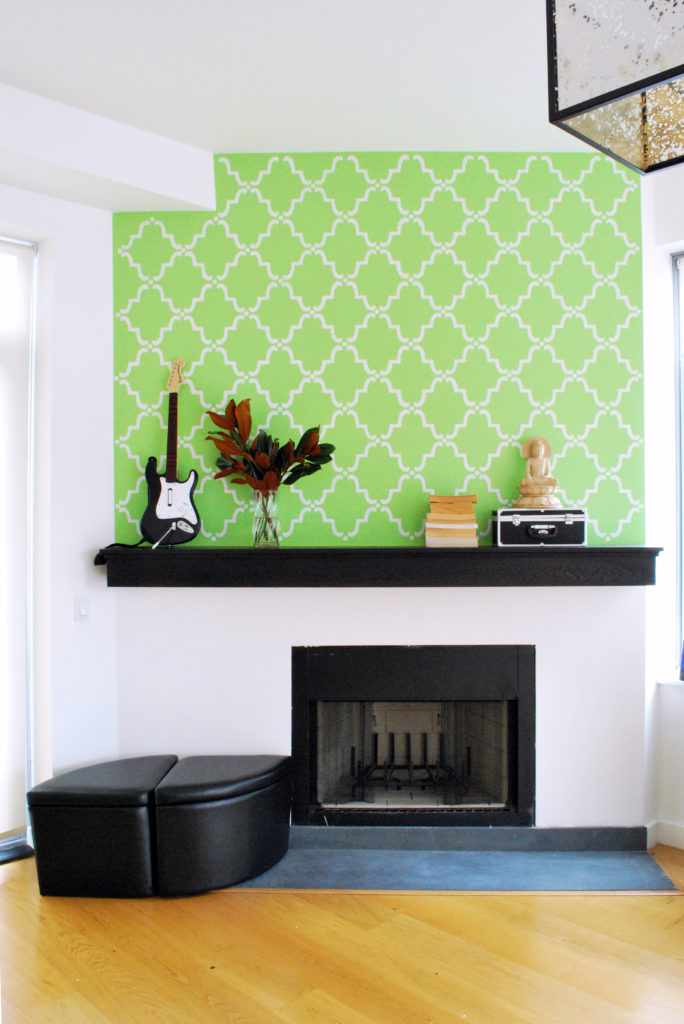
Everything else the client had and wanted to keep (sofa, round coffee table, black leather ottoman seating). Which is great bec we save money on not having to replace these items. Oh, the living room opened into the dining space and kitchen. So I had to make sure the colors flowed beautifully.
STEPS FOR THE DINING ROOM
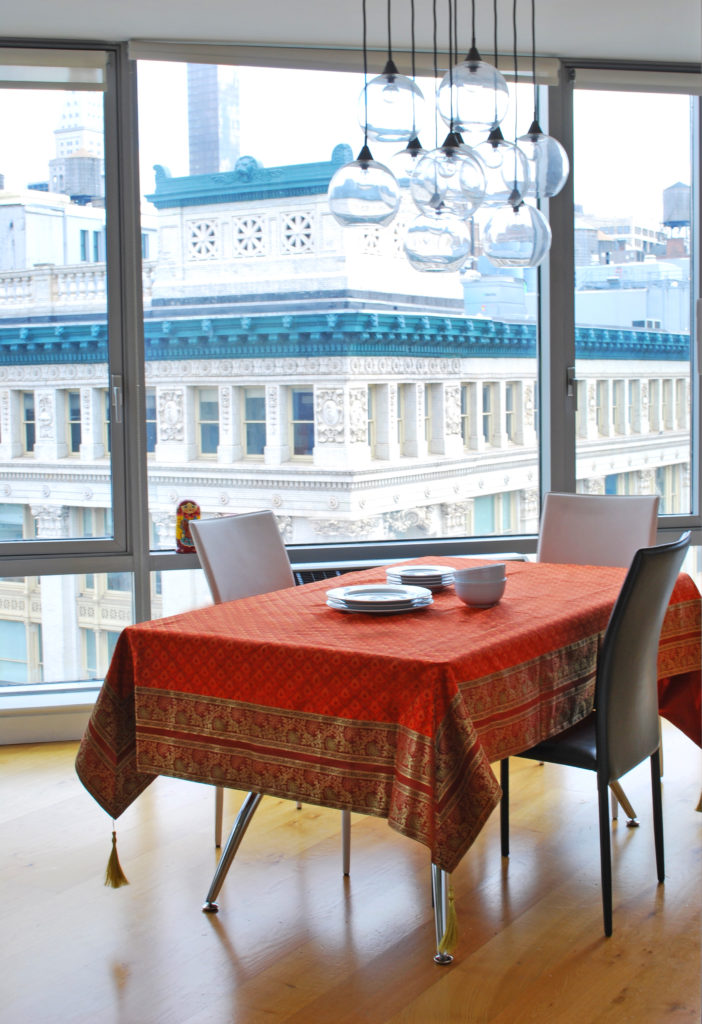
- We added colorful tablecloth from India (pop of beautiful design)
- We replaced their chrome finish chandelier with a new light fixture
The accent walls in the dining room were the windows with their beautiful view! We simply removed the old chandelier, and replaced them with these modern clear globe that are more proportional to the size of the dining table.
HOW WE SAVED MONEY
The painted walls were in great shape (yaay!). So, we saved money by not painting all the walls. Instead we simply painted accent walls ‘with a purpose’ of visual dividedness.
- we used green paint to accent (and divide) the VERY TALL fireplace wall
- we used blue paint to accent (and divide) the VERY WIDE wall behind the sofa
The old TV media console was awesomely reused – we turned it into a snack and bar cabinet, see below. It already had shelves so all I did was add cups, plates, wine glasses, fresh flowers etc.
DRY ERASE PAINT
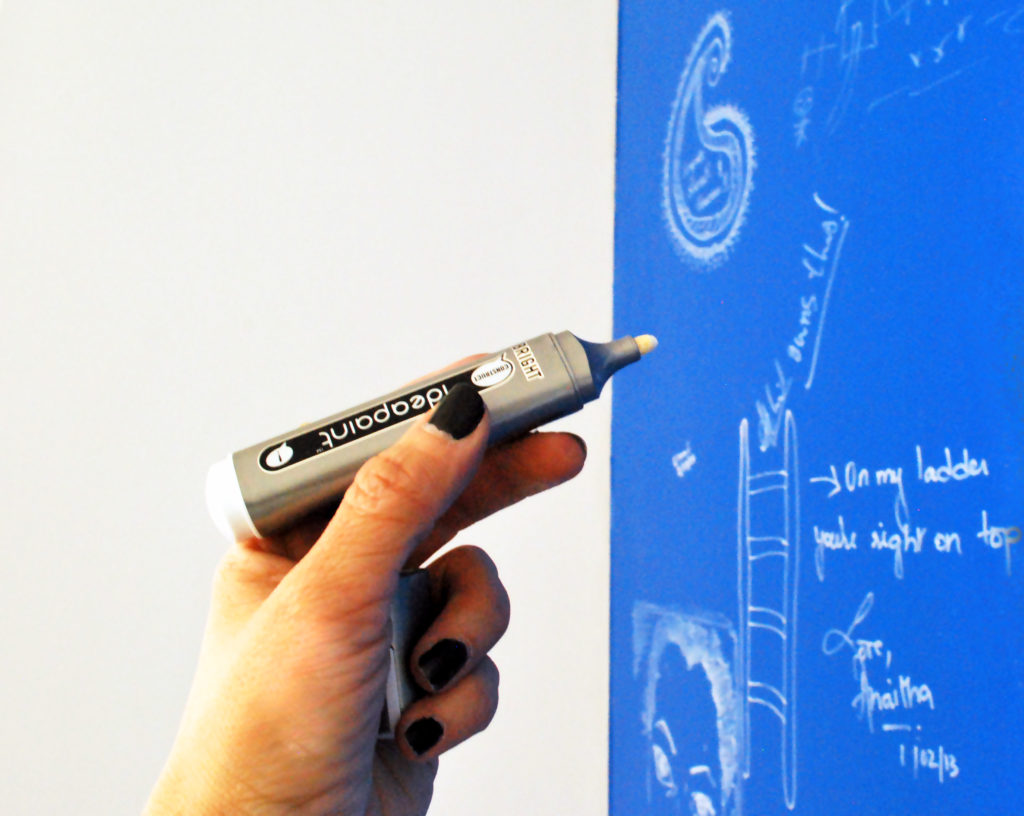
Oh, did I mention the blue paint is a DRY ERASE paint?
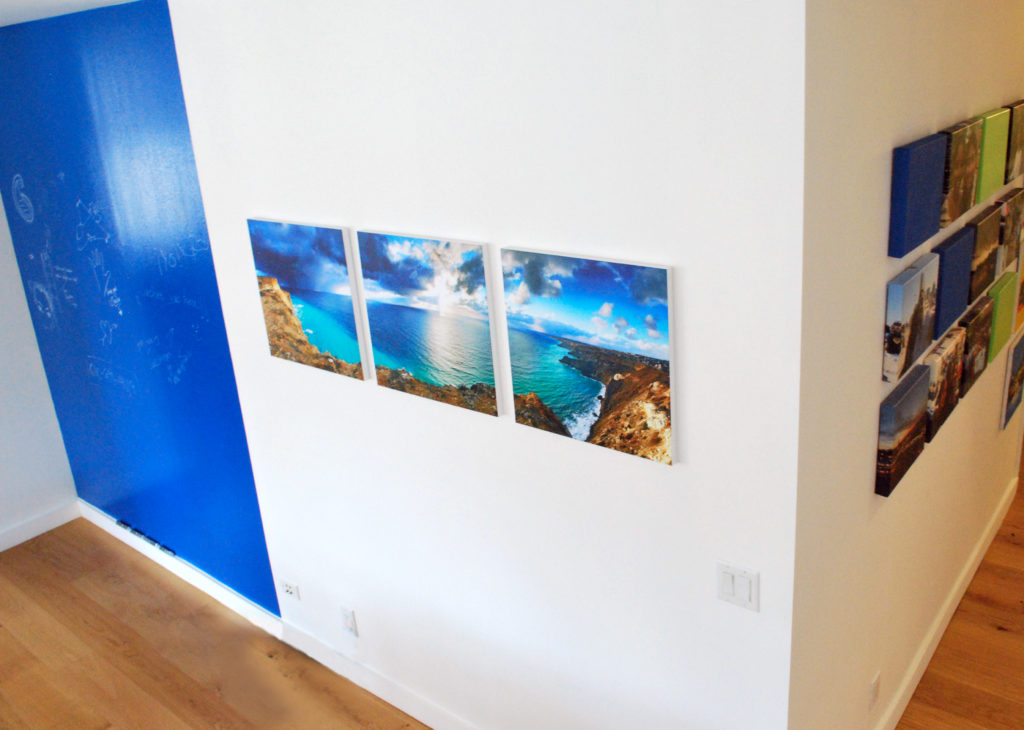
Yep they could DRAW + WRITE on the wall with a white marker. Yep, total coolness. Who says we can’t draw on the walls? NOT ME! Their friends constantly leave them sweet messages and cool fun drawings. When I visited the apartment to take photos of the design completion, my face couldn’t stop grinning when I saw all the lovely messages and drawings they friends had left them.
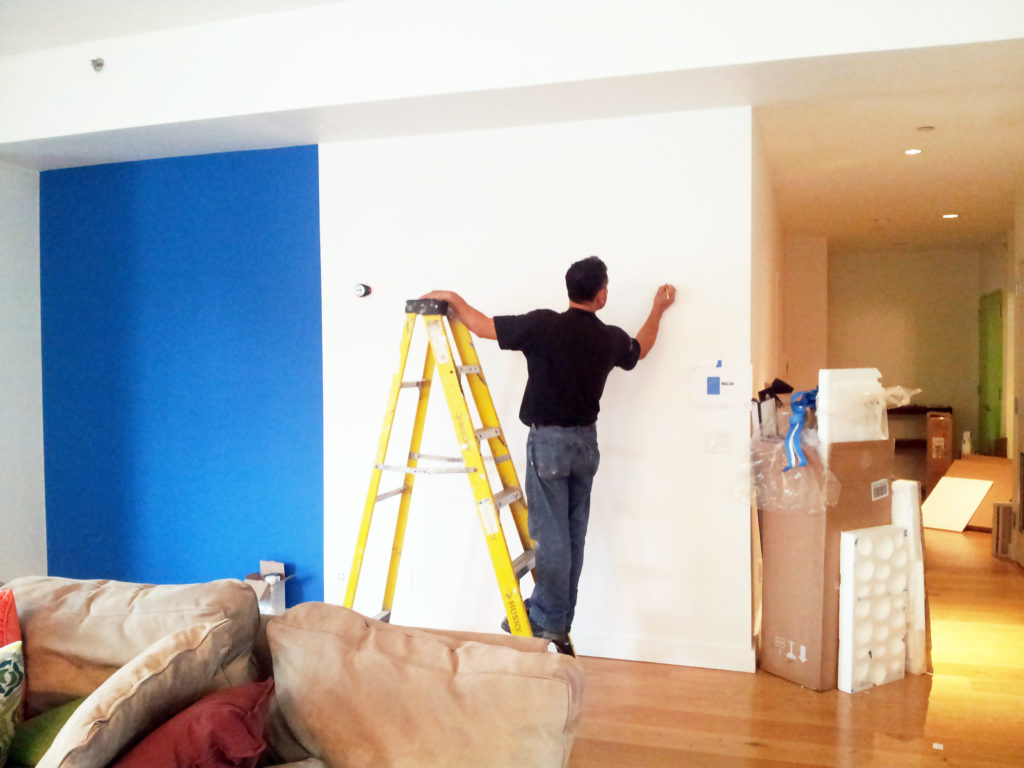
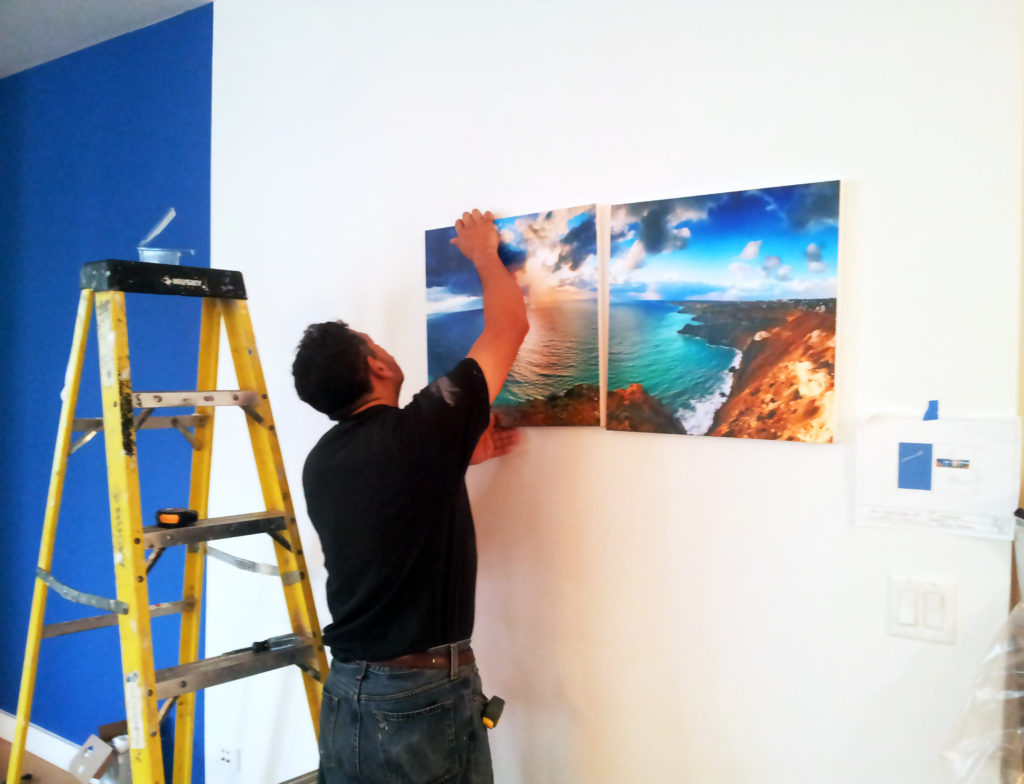
The purpose of the blue wall, apart from being fun + usable, is that it divided the very wiiiiiide wall. The color blue was inspired by the oceanic 3 panel art, and the panel art locations was inspired by the adjacent wall that displayed several 12×12 canvas photos (also containing blue colors in the photos of friends, family, and vacation spots). Contractor did a great job installing the 3 art panels with my instructions (teamwork!) … especially since decisions and calculations are involved: how far should the panels be from each other? how high from the floor? are they to be centered? I think it all turned out pretty amazing, glad my clients think so too.
