Did you know? If you want an extra room in your home you can get a temporary wall built! No renovation involved bec the walls are pressurized to fit a space. Pretty awesome huh?! My clients Rahul and Melanie had a 1 bedroom apartment but they wanted an extra room for: (1) when their parents visited, (2) to practice yoga, and to fit a (3) bassinet (yep, they were expecting a baby). Yaaaay and holey cow, how am I going to fit all that in! Today’s post walks you through the installation steps (and the short hair that I was styling).
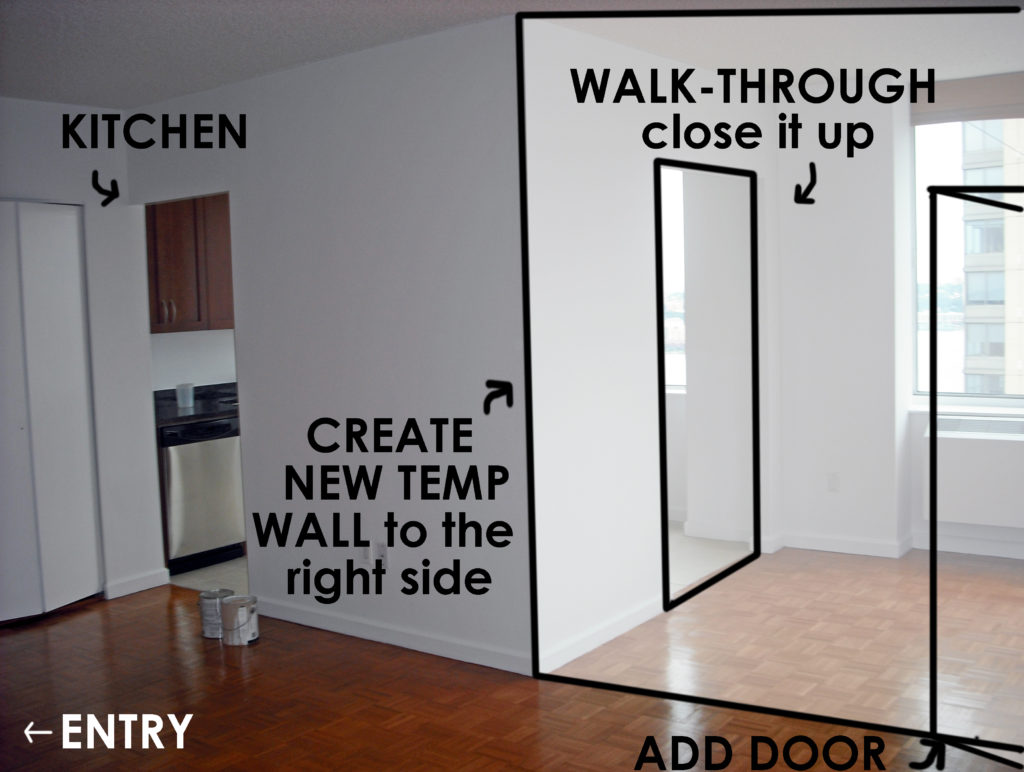
THE DESIGN PLAN
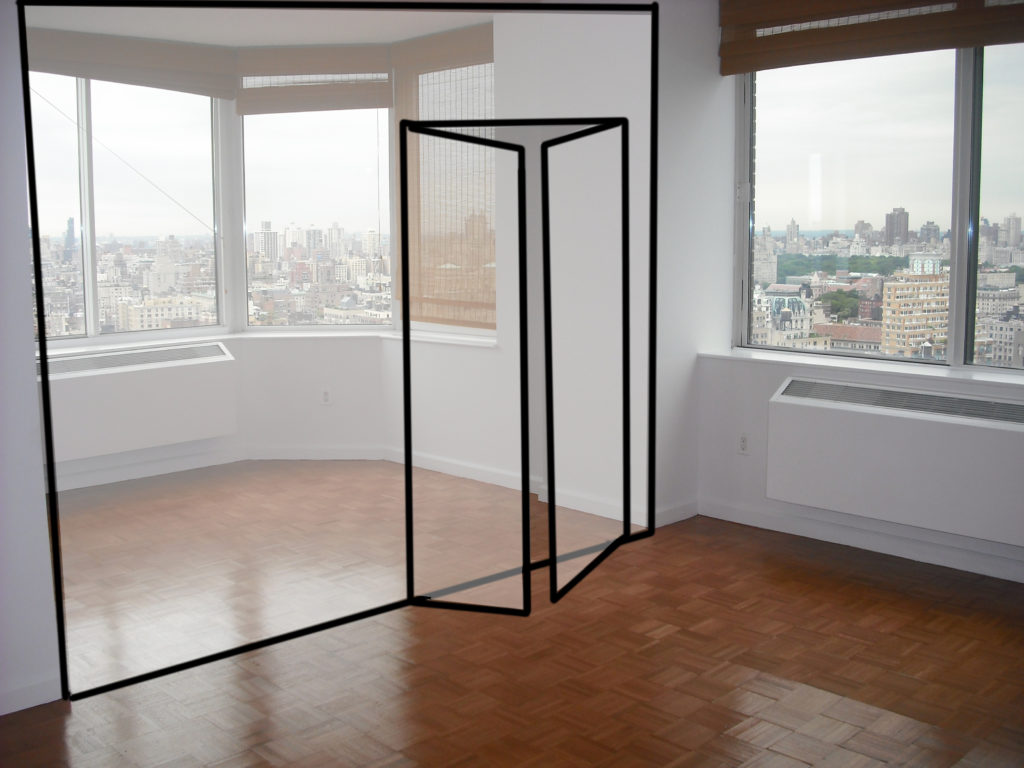
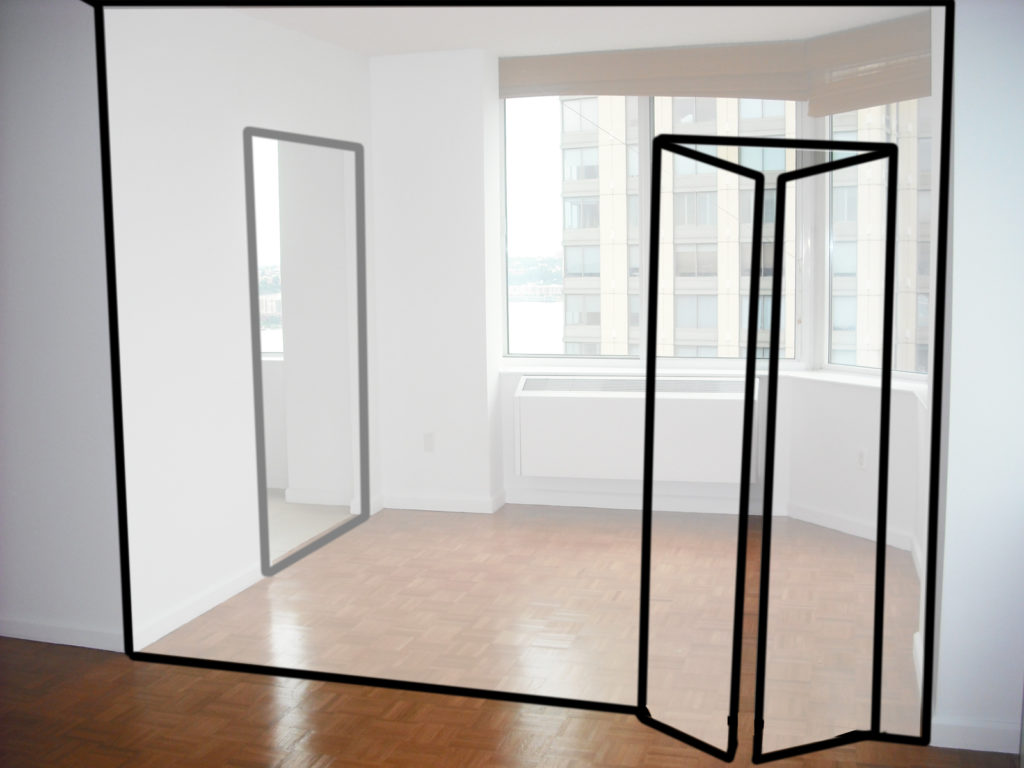
The kitchen had 2 entries/exists, so we closed one up (thanks to temporary walls to the rescuuuuuue) and the space that would normally be a dining area we made into the extra bedroom with french doors (all temporary awesomeness!).
The walls (sheetrock / drywall) are installed with a pressurized system attached from floor to system so NO nails on your floors, walls, or ceiling. You can EVEN hang frames/mirrors (under 30 lbs) to the temp wall. Cool, right! All floors protected (for installation and painting) …..

Closeup of the pressurized metal frame . . .
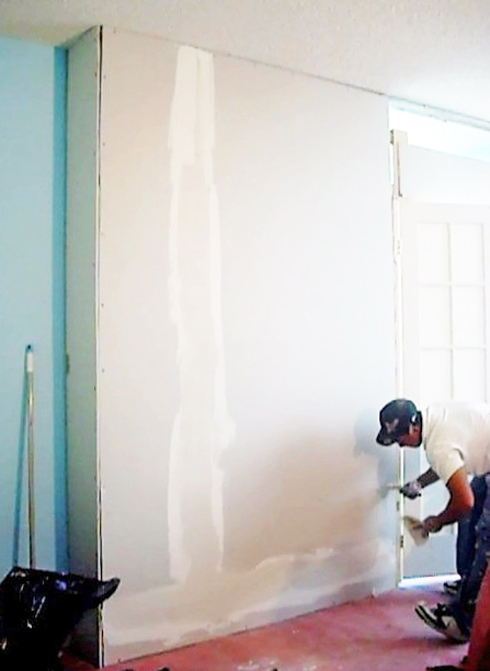
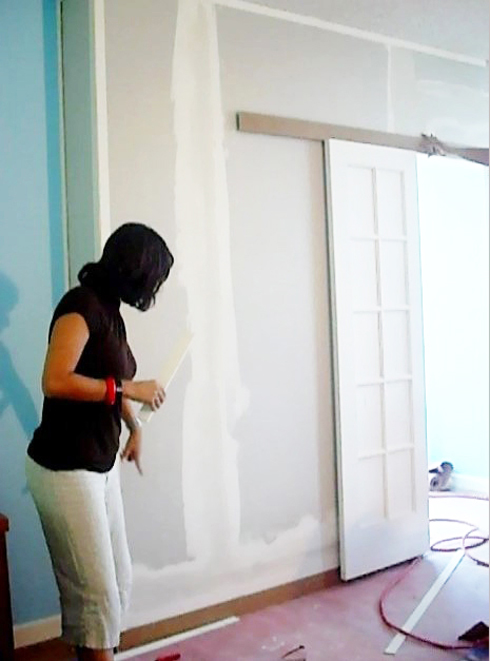
Plastering for sheetrock smoothness ….
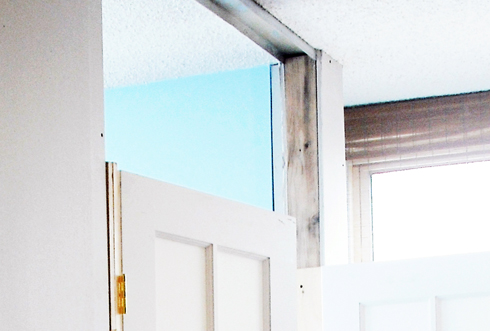
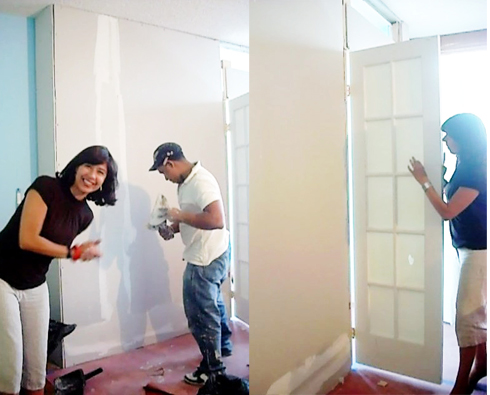
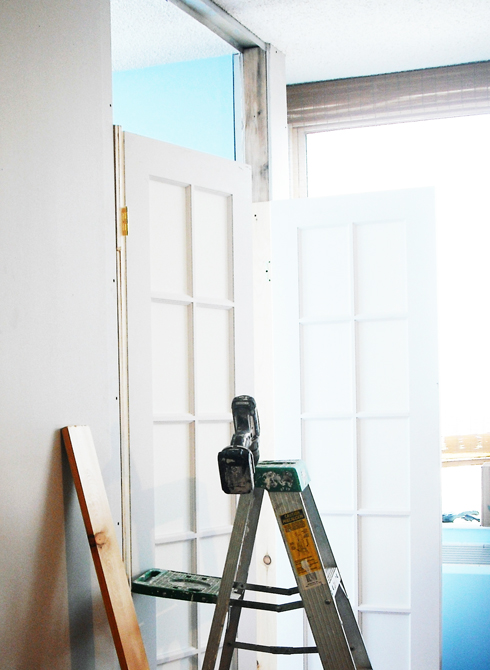
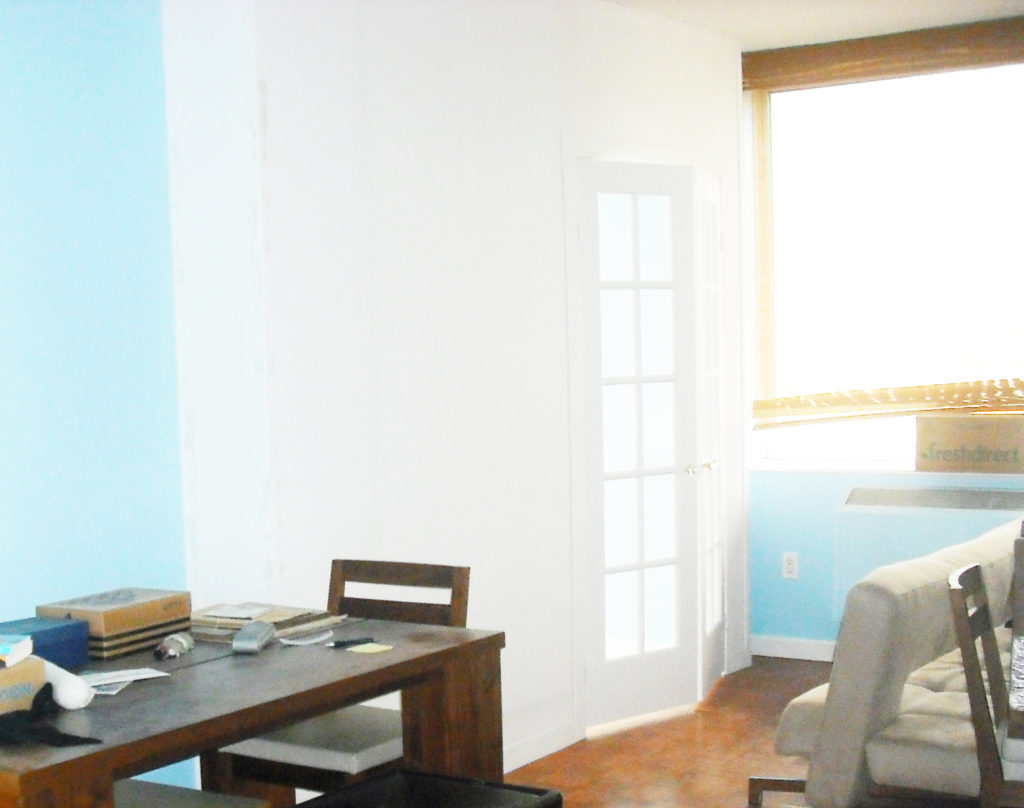
We ordered 2 French doors with clear lite panes so I kinda freaked out when I noticed that all the glass panes were white. Then I realized that it was just the protected liner (duh!). Beautiful clear glass panes (panels) were underneath. Phew. Um. yeah, err, there was no panicking; tsst, I was totally cool like a cucumber! Looking back now I realize that as my short hair grew out I learned to be more relaxed – there is always a solution, wink. Peel paper, all good.
These temporary walls (room dividers) are perfect solution for peeps that want an extra room for guests … a roommate … an office … a nursery … storage space … yoga / meditation space … etc. Once you are about to move, or kid grows up, etc you simply contact the company to de-install the walls and your security deposit it given back.
Base / crown molding are also added for a finished (matching adjacent wall(s) look) .

NOW, BACK TO THE INSIDE OF THE ROOM
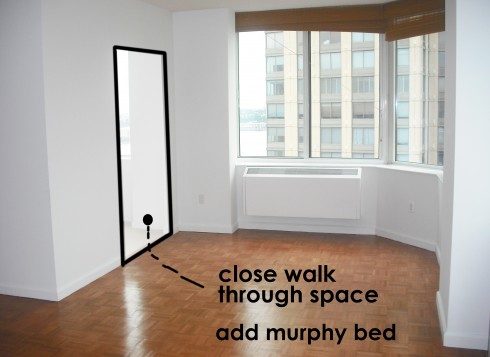
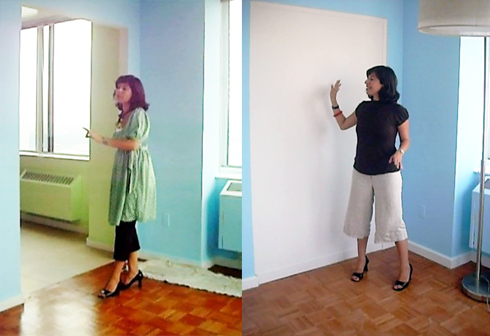
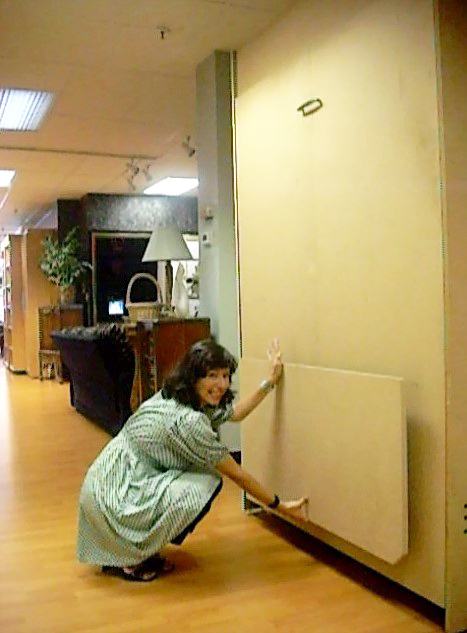
We needed a solid wall to add a murphy bed (yep, we went there!!! Murph’d it up beautifully!). Below are before and after pictures including me at the murphy bed showroom in Manhattan for a test drive . . . . (warning: blurry photos makes me look like an alien).
The design plan: close the extra exit/entrance to the kitchen so we can add a temp wall then place a murphy bed on the wall
Here’s the murphy bed that I spotted in the furniture showroom and proposed to my clients. They loved it! Wohoooo!! We got it in white, and with the attached table that can be used when the bed is up.
. . . but stay tuned – I will show ya’ll how I decorated the inside of this room in another next post (bed, dresser, TV wall mounted, etc etc etc.)