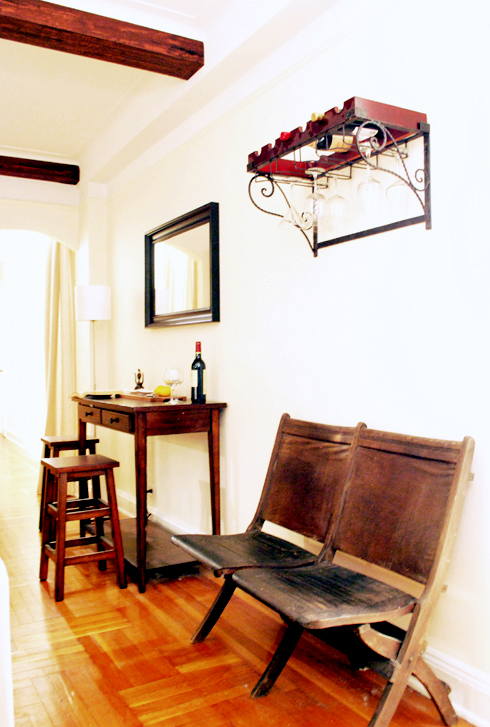
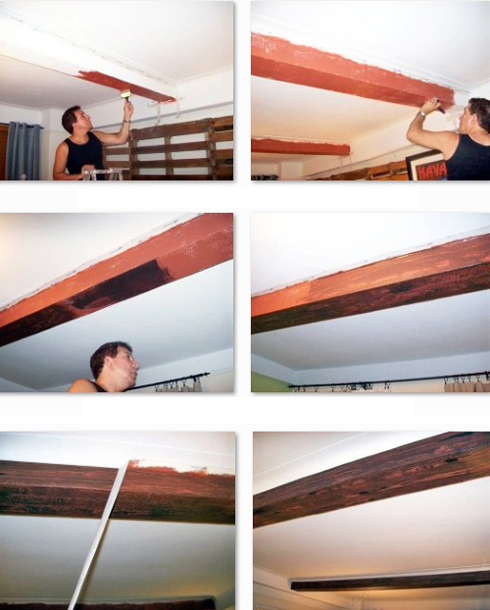
Masculine, vintage, and cozy were all key elements I kept in mind when decorating the open space design for Bill. Every item had to be strategically placed and complementary to each other bec this small space had to elegantly feature a living space, home office, and dining area while having enough room to have friends over for social gatherings. We also decorated his bedroom with a similar earthy vibe. Oh and his ceiling beams used to be white, used to be! We hired a mural artist to make it look like real wood beams. He did an amazing job – we even cataloged the steps for you. Ok, here’s the tour with before and after photos.
BEFORE PHOTOS
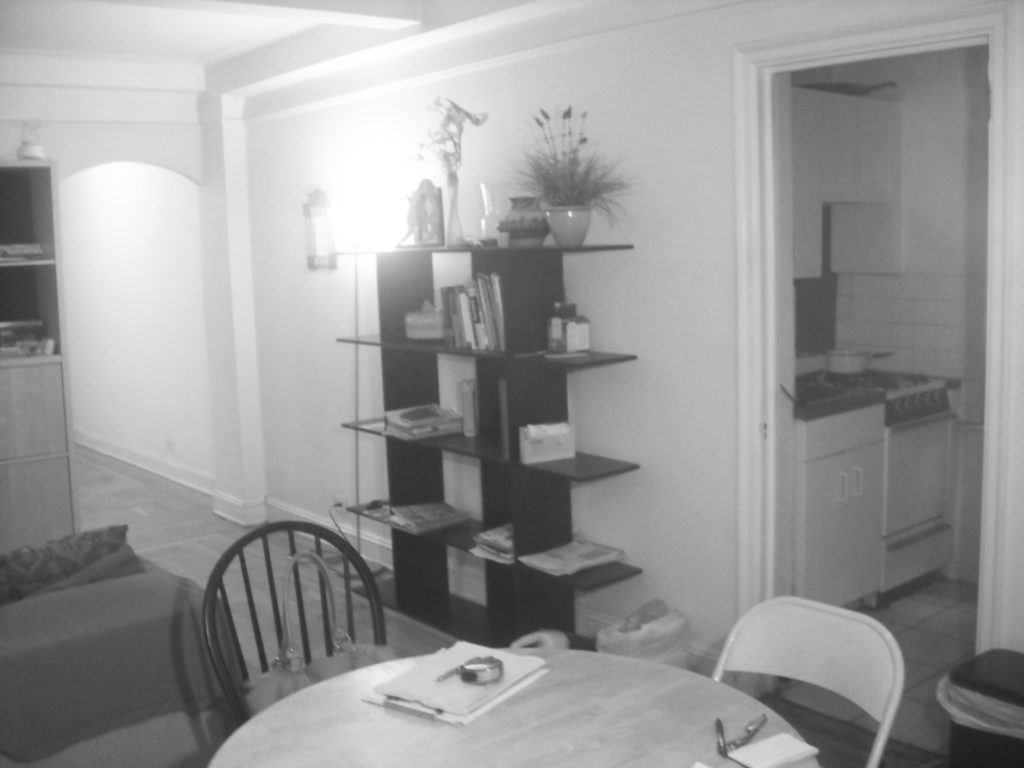
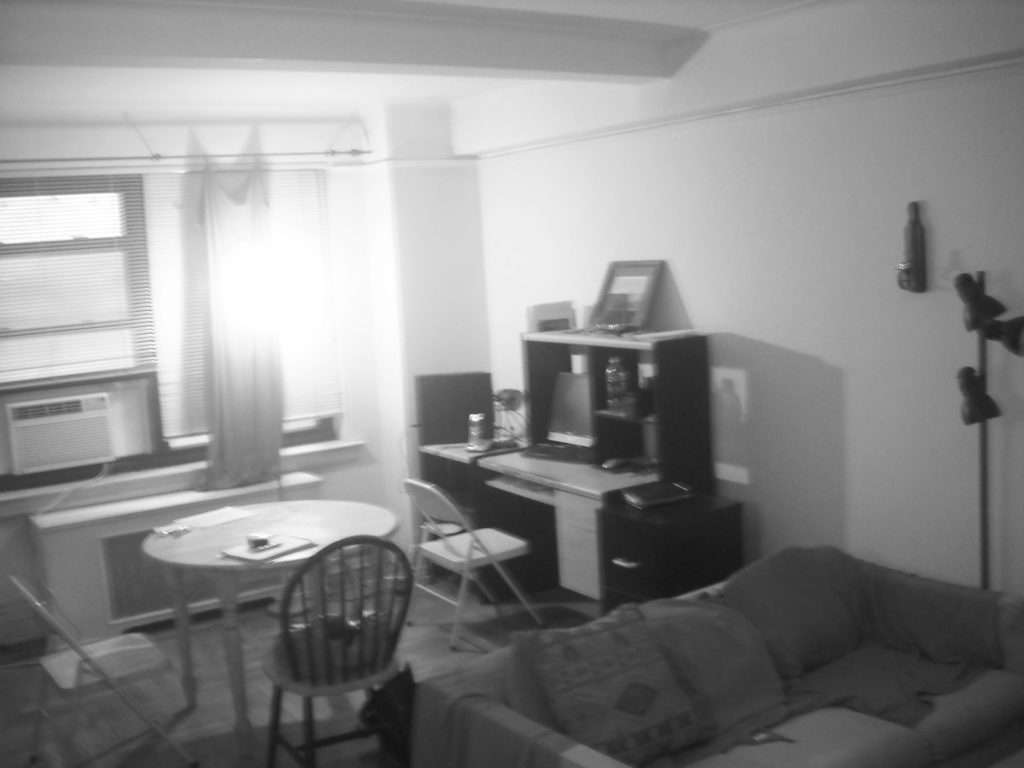
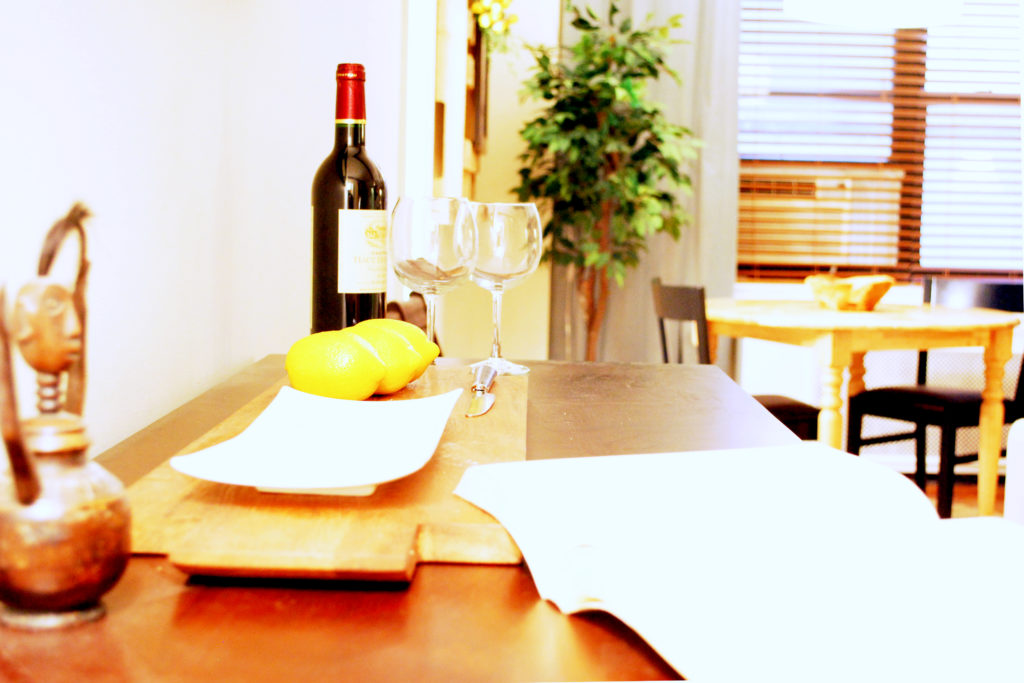
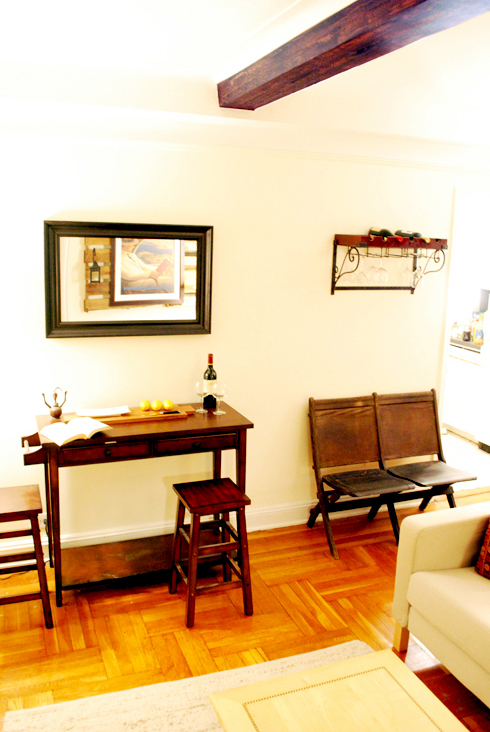
Bill has a tiny kitchen and enjoys prepping small meals on a counter for himself and friends but it was always hard to prep food and chat with friends in his small kitchen so I added a bar counter right outside his kitchen with a wall mounted wine rack plus extra seating. Bring on the social gatherings! Wine tasting anyone? The black and white photos are how the room looked before the design was implemented.
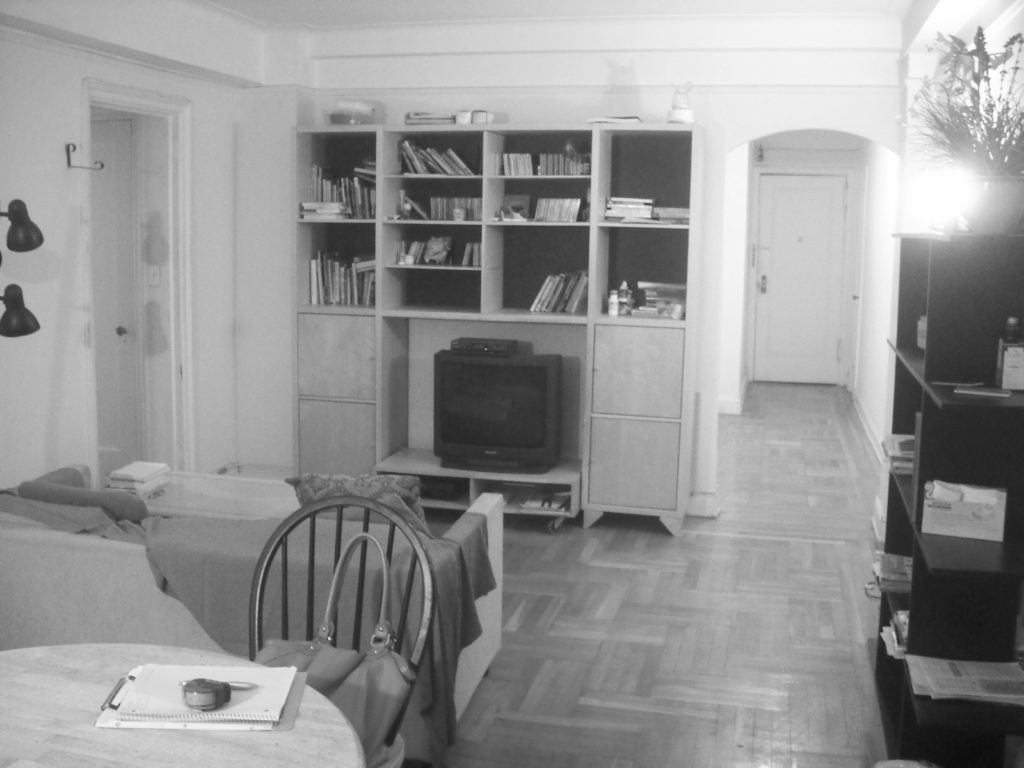
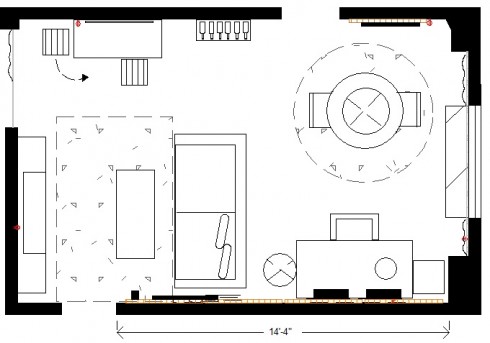
His furniture placement layout was already great, what we needed to do was replace several items and add new ones that were proportional to the size of the room and stylish (of course!), plus decorate the walls (in a big dramatically cool and economical way!).
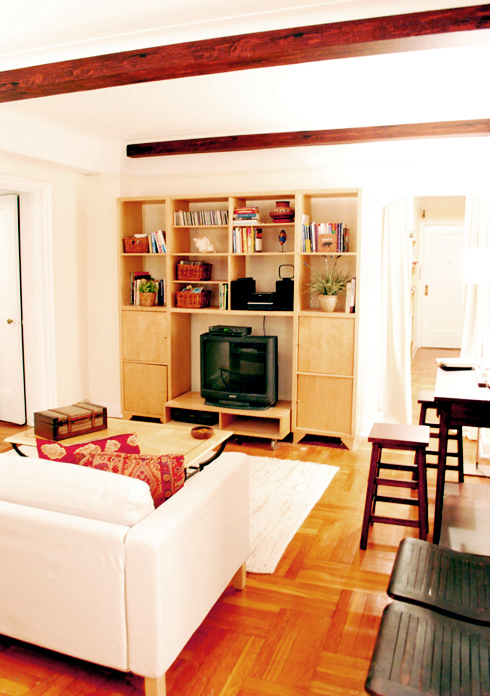
Bill wanted to keep his tv/book system, so I simply organized it with bamboo bins (bringing dark wood tones to the area), and assigned designated areas … for all the cds, books, and plants/decor, etc. Everything else went BYE BYE.
THE KEEP LIST FOR LIVING / DINING / OFFICE AREA
- built in TV / bookcase unit
- coffee table
- round dining table
- one decorative pillow
- curtain rod
- computer / printer
- bamboo trash bin
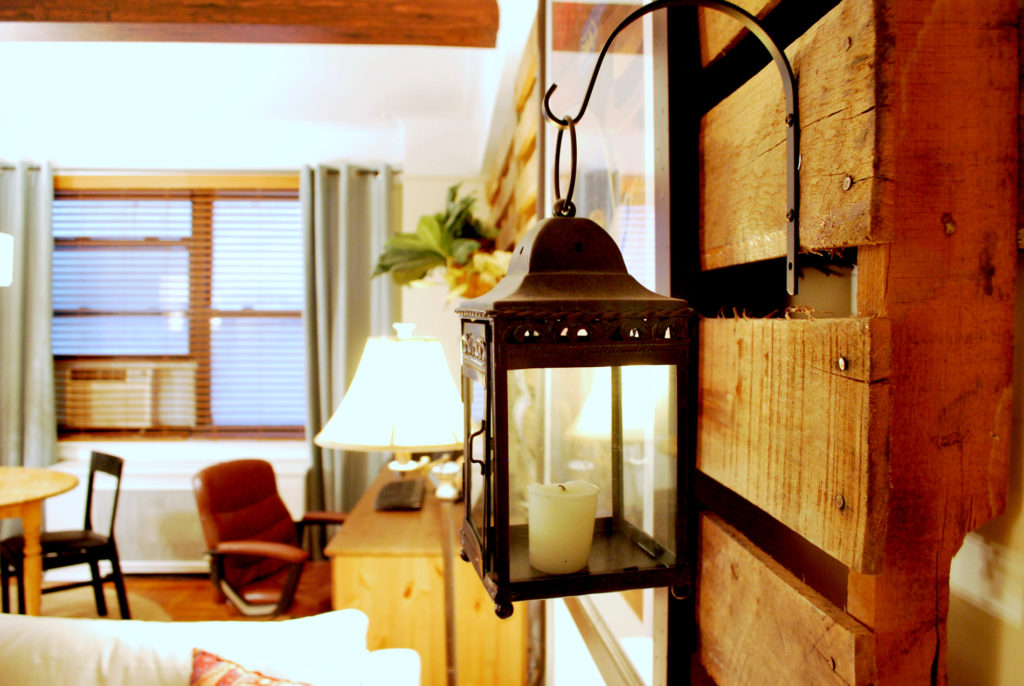
That’s it! Everything else we added new seating, new office desk, new dining chairs, new ceiling light fixture, new curtain panels, new office chair and even included a wall mounted lantern (the hook is actually a plant holder) and much more. Check out more before and after photos.
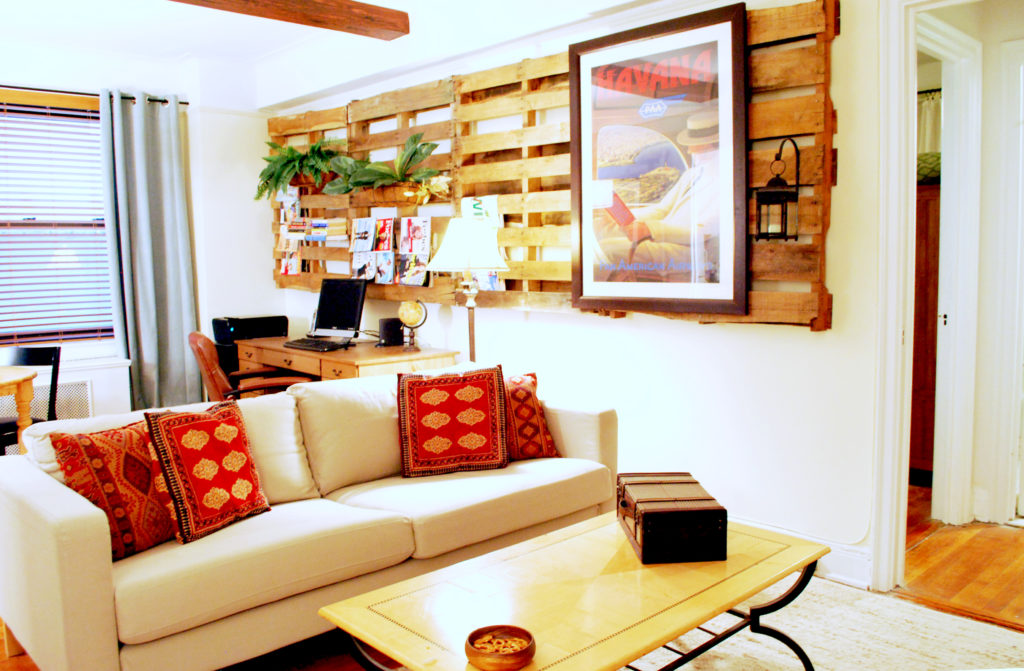
As with all my designs, we are ON A BUDGET! Which means that this gal needs to put her super-hero creativity cape on to create a design that fills the room. I knew I needed to ‘fill the walls’ economically, while maintaining an earthy vintage vibe to the room. The solution? = Add wood pallets!
How much do you think the pallets costs? $0.00!!!!!!!! I found them on craigslist. A gym was getting rid of them .. as many as we wanted for FREE (woohoooooo!). My contractor graciously picked them up for me then worked on them getting them ready for install day … da da daaaaa <- that’s my dramatic special effects noise. (I thought I had pics of the contractors installing them, but I couldn’t find them – sorry) .
The wood pallets:
(1) fill the walls (in a cool vintage way which Bill LOVES)
(2) are functional since the slot holds lots of magazines, books, plus we can (and did!) mount art on them
(3) are freak’in unique. We added plants to soften up the hard-wood, that’s me talking to the fern (“you are sooo pretty, u cutie-pie fern you”):
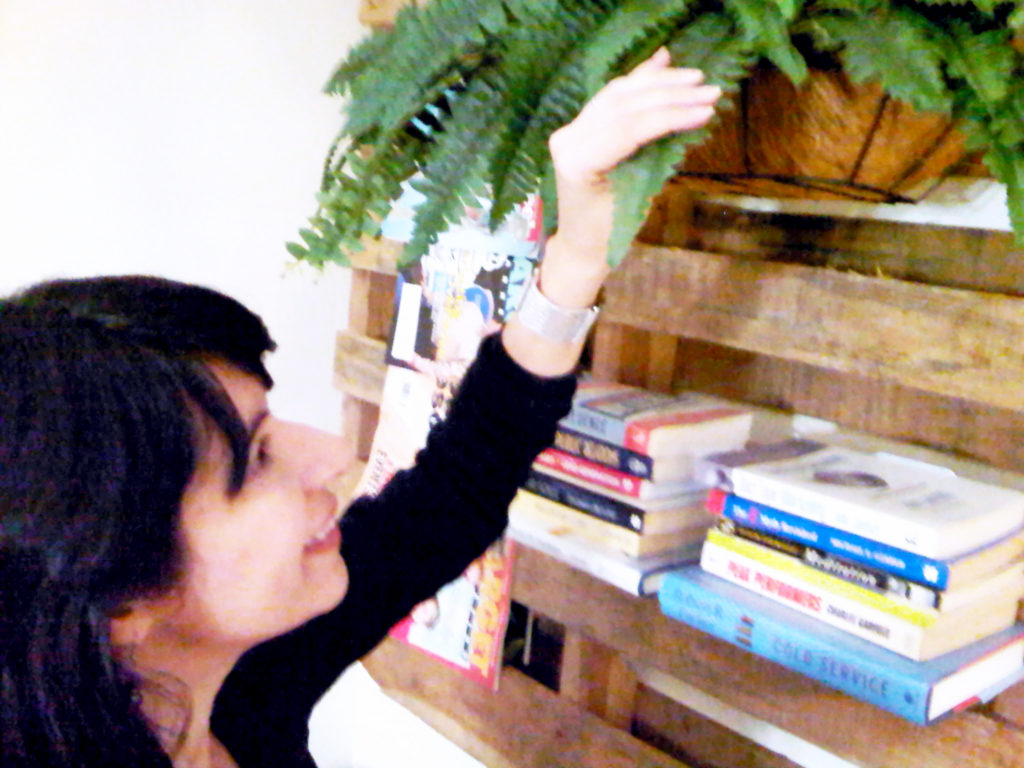
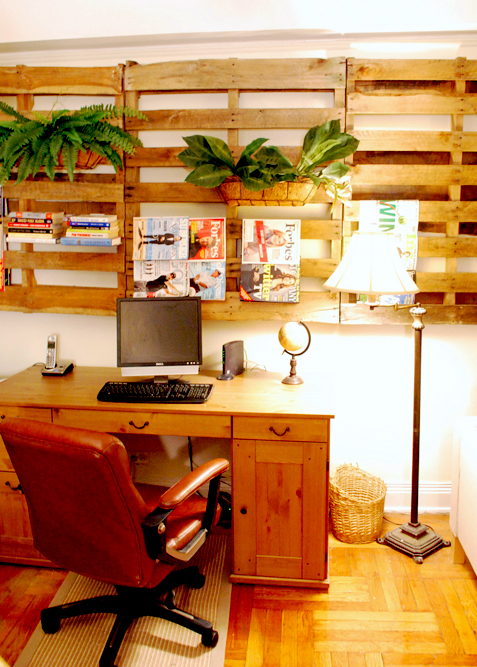
Books and magazines are now easily accessible from Bill’s home office. btw – we waited about 8 weeks for this desk!!! Not bec it was a custom furniture item, but bec it was not in stock but sooooo perfect in size, shape, color, AND price, so the wait was totally worth it! To soften up the overload of wood texture, we added plants (ferns) to the pallets.
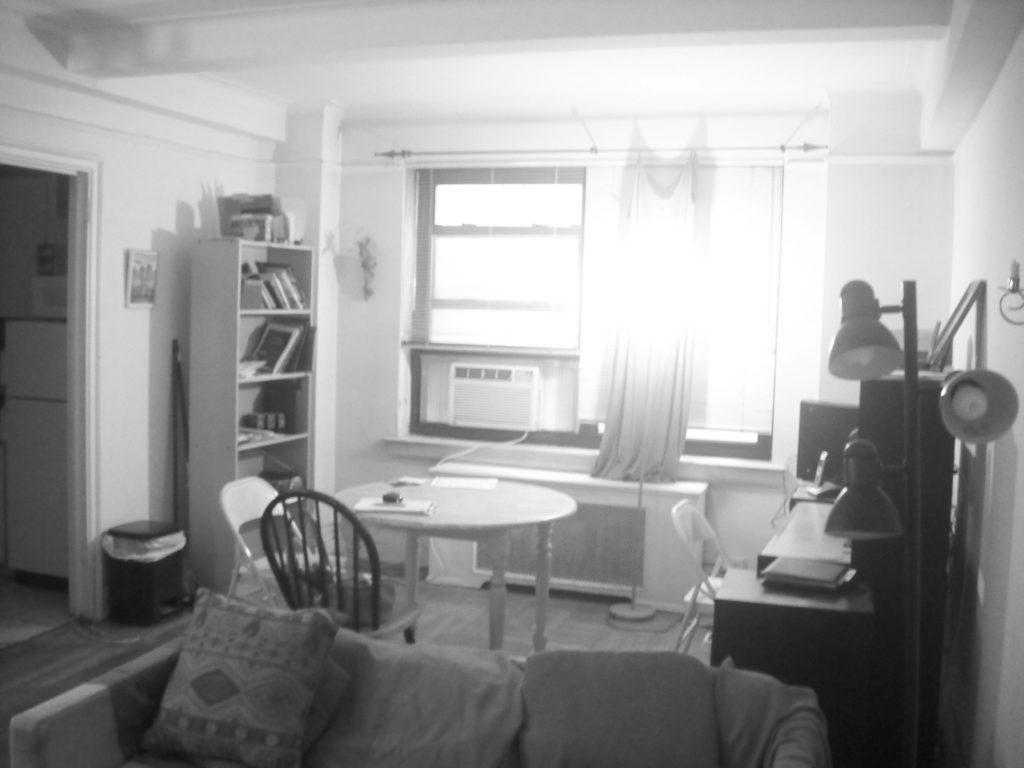
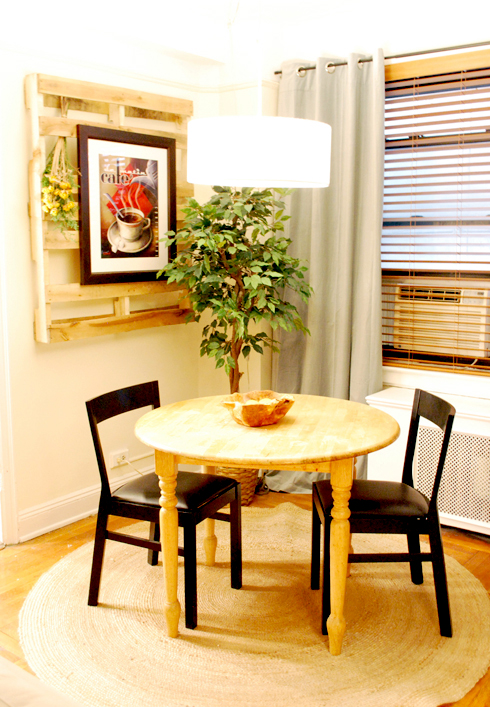
We relocated the bookcase to another area of Bill’s home (his hallway), and then I worked my magic transforming this dining space into a space that felt he was at a cool coffee shop. So whenever he wanted a mega quick break from his home office he could go to “his” coffee shop.
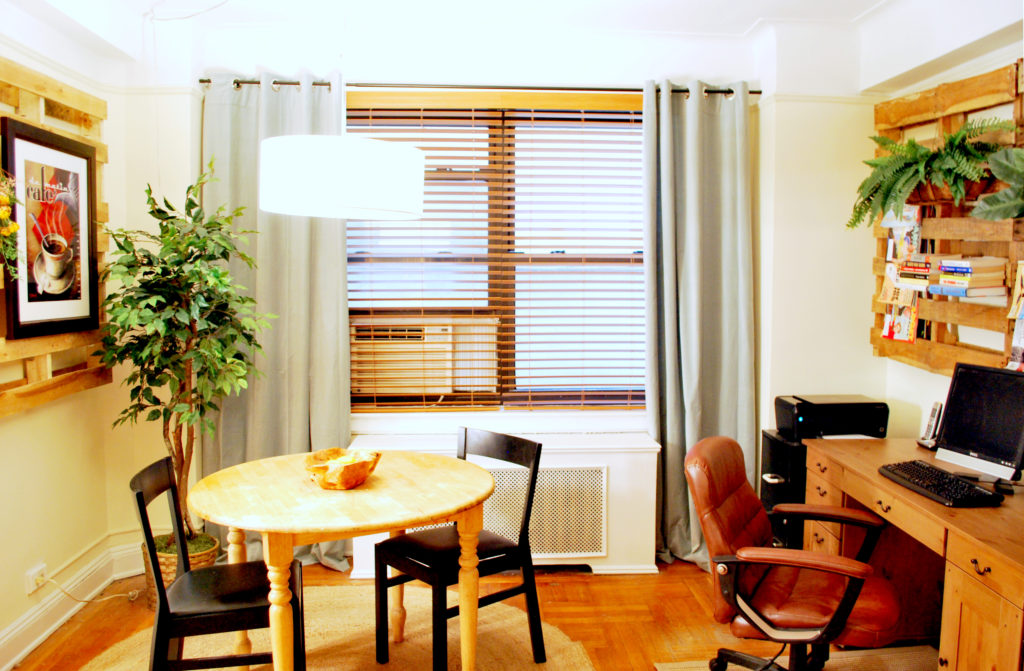
Here’s the transformed dining space (aka: coffee shop!). I love the dried flowers mixed with herbs placed on the pallet, which was Bill’s idea. The aroma was great, a soothing calmness.
CEILING BEAMS
ANOTHER BIGGIE in my design was transforming his ceiling beams with paint to look like real wood. And it turned out AH-MAZING thanks to creative artist Anthony Valbiro. Anthony showed me 3 samples of color and grain, I choose the one I knew Bill would love (which he did), then we set up a day that Anthony could work his magic. Check out his process below.

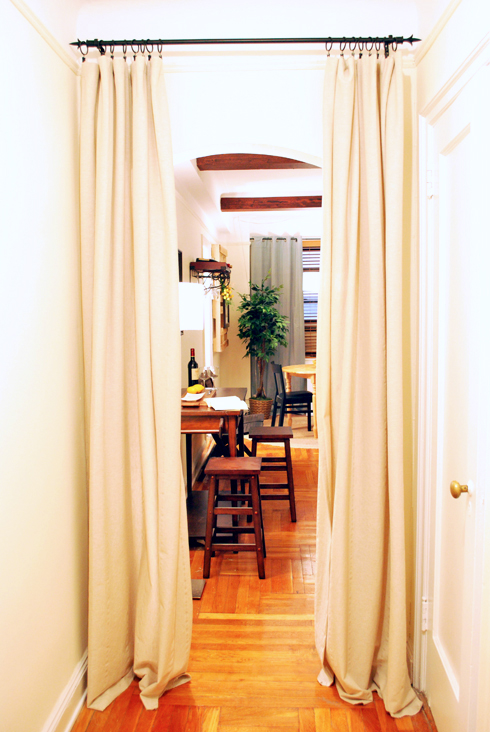
And one more thing we added to this space was a luxurious looking entryway created with velvet curtain panels, and placed up high.
THE BEDROOM DESIGN
The bedroom before was dark and dreary with curtains pulled closed (no sunshine coming in). I took a peek out the window and I saw how he had a great view (with a communal yard, seating + trees + grass, outside), but the curtains were closed. I knew THEN that I wanted to make sure that the design I created for him made him feel super proud to open the curtains and let the sun shine in!
THE DESIGN PLAN

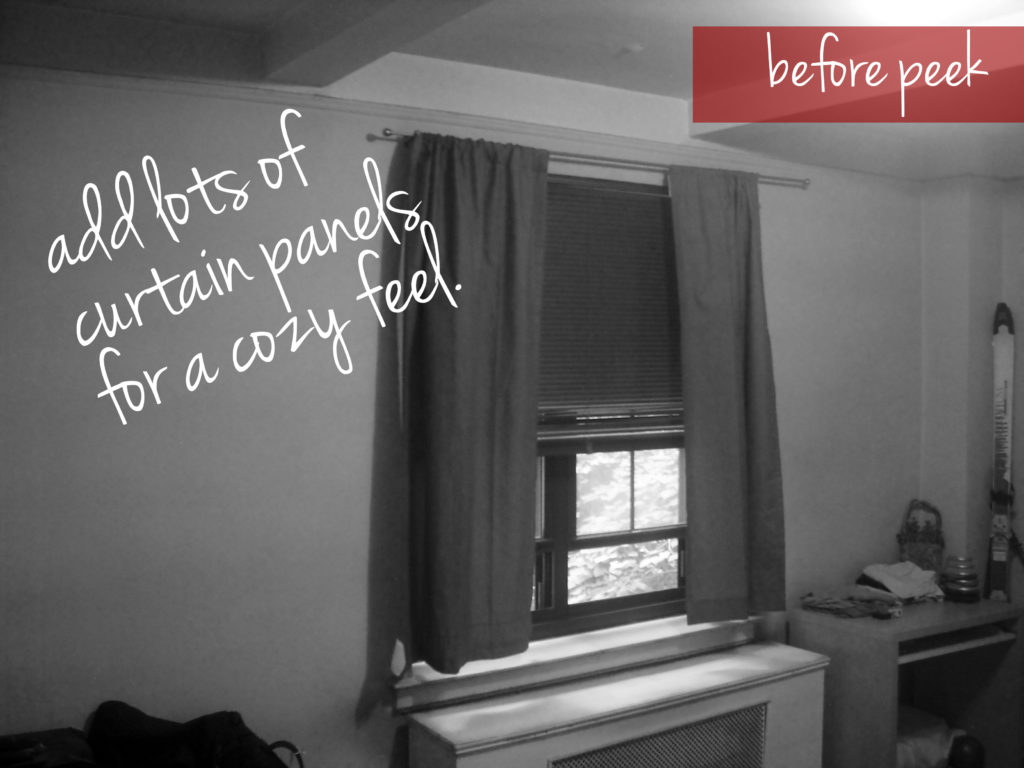
THE KEEP LIST:
- tall white dresser
- windows wood blinds
- small artwork
We added a mix of lots of curtain panels (sheer + opaque) to the bedroom to give it a cozy relaxed look to the space. And, to maintain the flow from the living room to the bedroom, Anthony (our muralist rockstar!) faux painted the ceiling beams to look like real wood. We also added: new bed, new headboard, new nightstands, new armoire, new bedding, new curtain rods, new pillows, and a new rug. And, new wall paint!

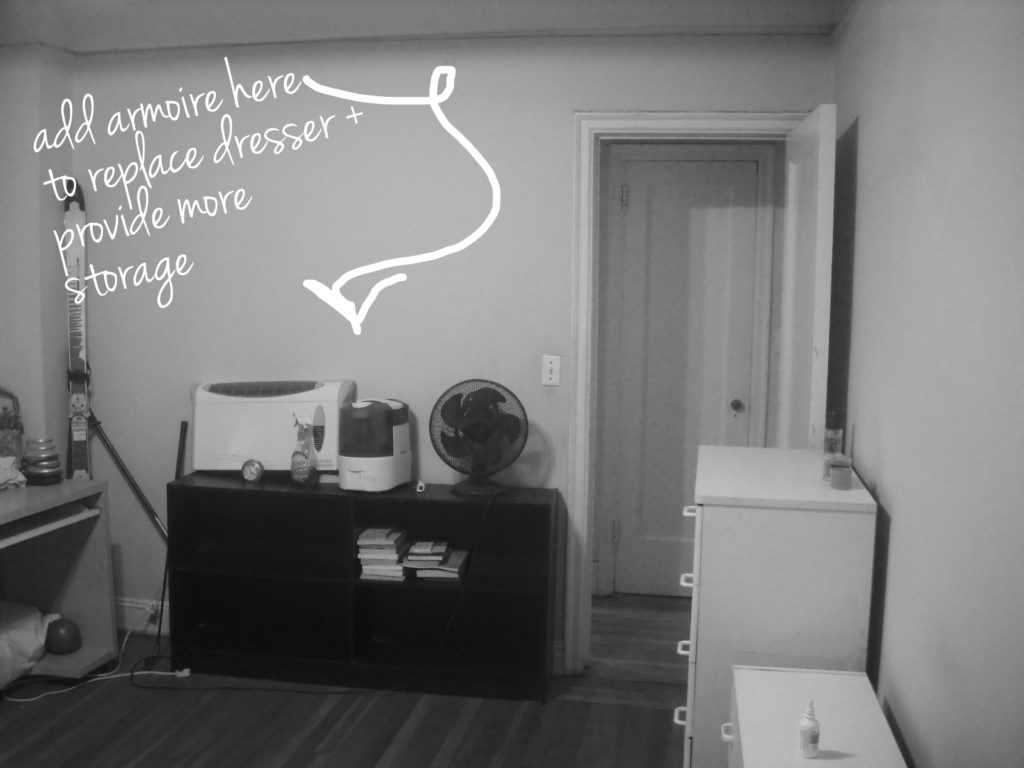

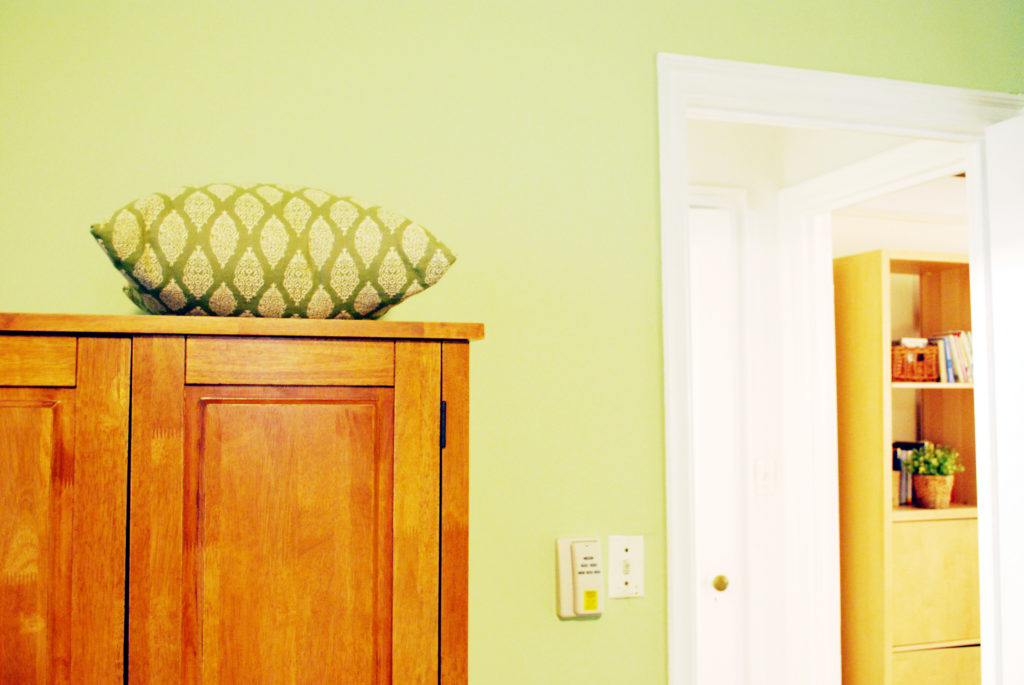

Sometimes, a furniture item simply needs a new place to shine!!! We gave the client’s current white dresser a new happy spot, and livened it up even more by adding a medium size plant + one of my clients favorite art print. Most of the budget went into the living room (since it’s the main hang-out area), so I had to make sure that the few new items we introduced into this room made an impact (with functionality, style, scale, and of course – price = economical.

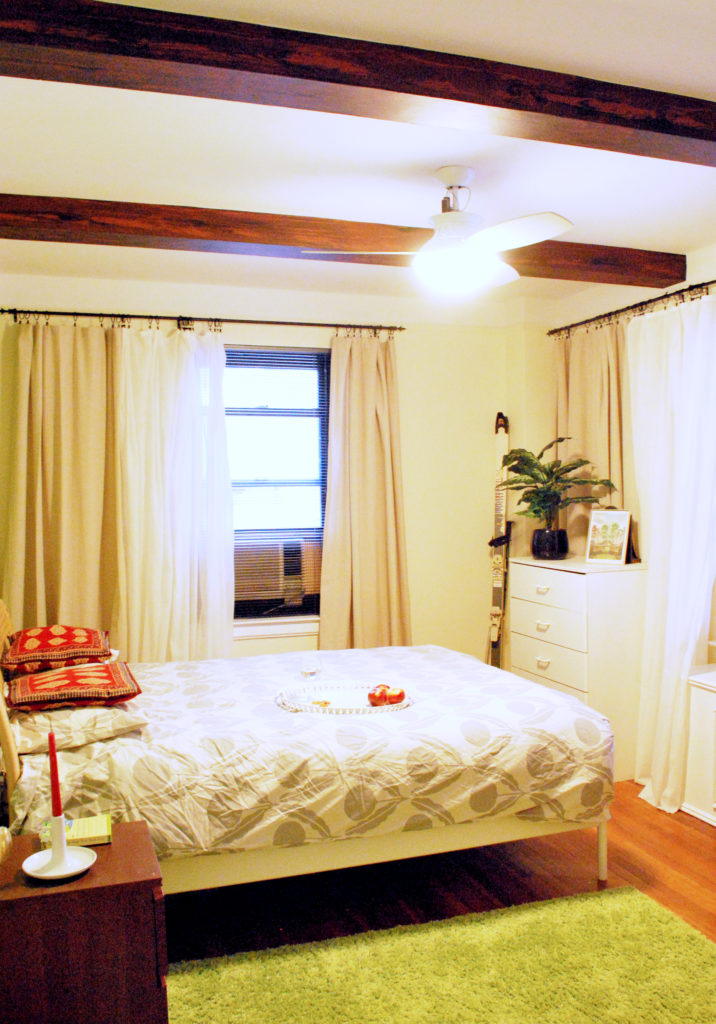
Oh, we ended up going with a rectangular rug instead of my suggested round; Bill spotted the rectangular one at a store, sent me a photo and I put his mind at ease that it would look good. He purchased it + now keeps his toes nice and warm when he gets out of the bed.
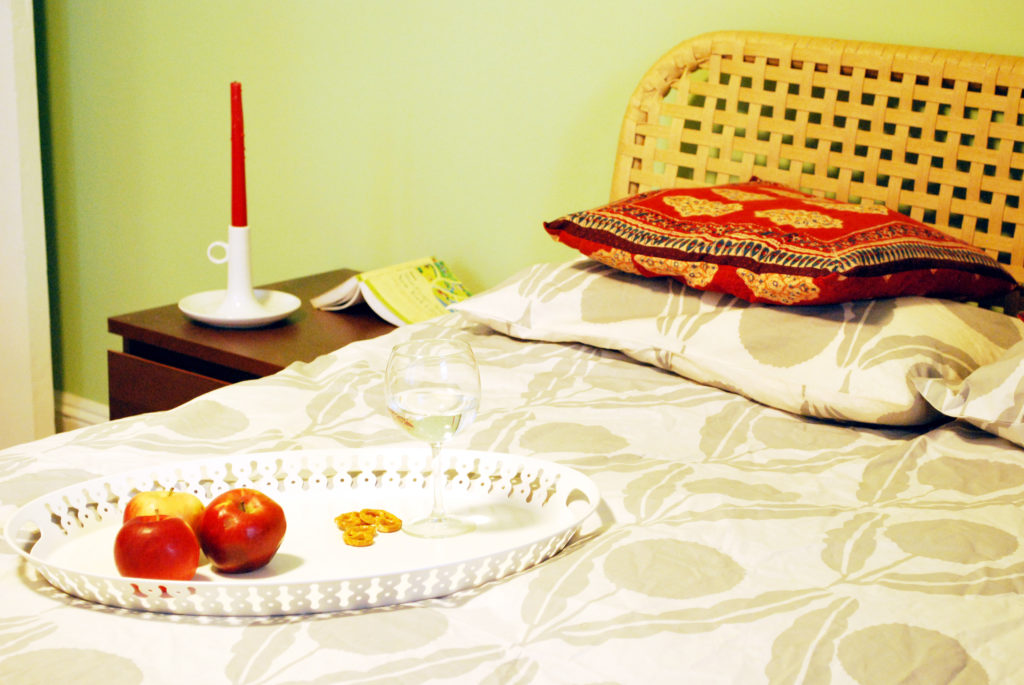
The headboard = a must in this design to give visual height. we also purchased dark wood side tables (with drawers that slowly shut = no pinched fingers!). I remember getting a panicky call from the client that the drawers were broken …. when I went onsite to check them out I saw that they simply were not installed correctly (it had a sliding mechanism that simply needed to be adjusted). I had the contractor go back to fix it = happy client! Happy me.