
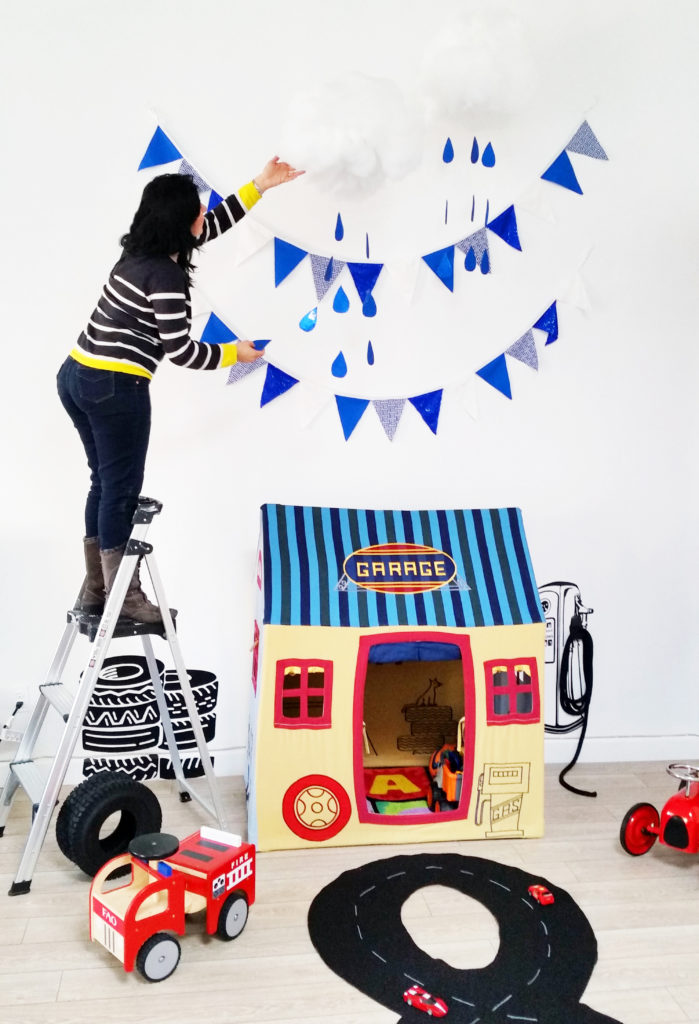
I created these fluffy hanging cotton clouds with sparkly glitter raindrops for my clients. Yep, i DIY’d them and i’ll show you how you can make them too, economically of course. Wait till you see how they look at my clients apartment (spoiler alert: adorable!) DIY projects are always so much more special for me to make when I know they will be bringing many smiles in my clients home. This is how it all went down . . .I couldn’t find a decor for my clients that was unique, adorable, large, and economical. So, i roll up my sleeves and DIY’d one! Clients wanted to place their son’s playhouse in their living room; however, they have tall ceilings and a short playhouse. How do i balance the two? By adding decorative feature(s) in between the ceiling and playhouse.
Adorable clouds to the rescue! The clouds give a dimensional balance to the playhouse since it hangs from the ceiling not the wall. I wish we had taken a photo of the clouds and raindrops without the triangular banners so you can truly see the depth balance. Oh, and guess what? You (yes, you!) can also bring your very own clouds and raindrops indoors, economically and without getting wet (hahaha). Get the scoop below.
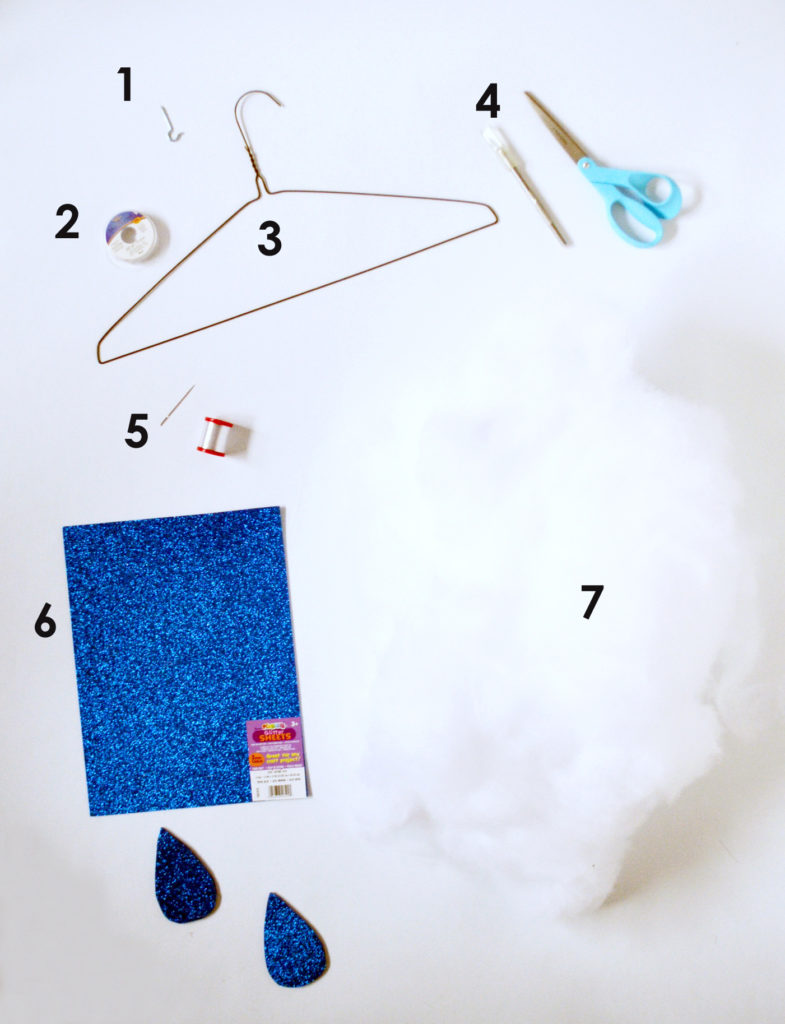
MATERIALS NEEDED
1. ceiling hook
2. clear cord (attach hook to hanger head)
3. hanger (lightweight, to hold cloud + raindrop garlands
4. scissors / x-actor knife
5. needle (to thread floating raindrops)
6. clear thread (to use with needle)
7. batting (or, simply re-use the cotton from your pillows)
8. foam sheets (glitter if you r feeling fabulous!)
9. pen / marker (to draw raindrops on foam sheets)
10. glue (if you want a double sided glitter raindrop)

STEPS TO MAKE COTTON CLOUDS WITH RAINDROPS
1. using a pen/marker draw 4″ raindrops outlines on 1 sided glitter foam sheet

2. using scissors cut out each the raindrop outlines
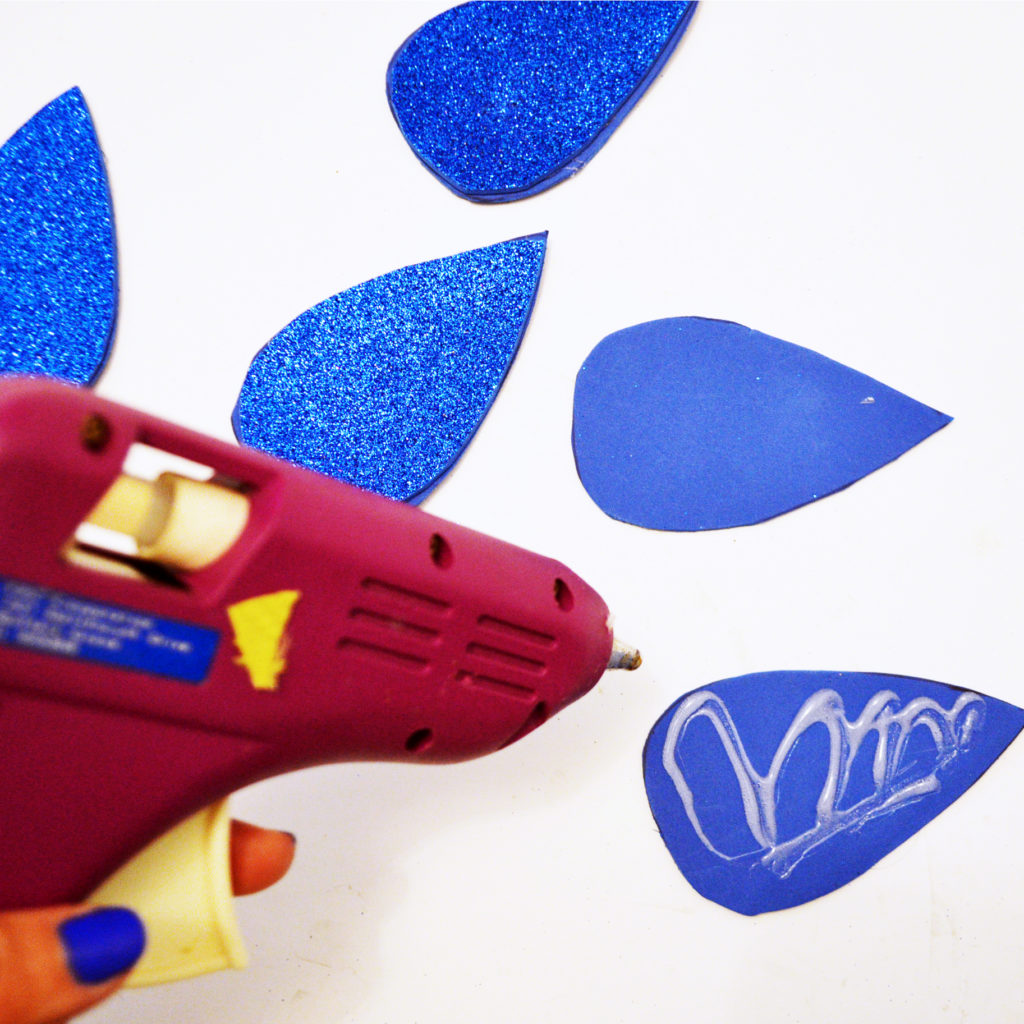
3. (optional) glue non-glitter sides of the raindrop to each other (so you get a glitter design front and back)
4. (on the floor or large table) layout the height distance for each raindrop
5. insert clear thread through the needle
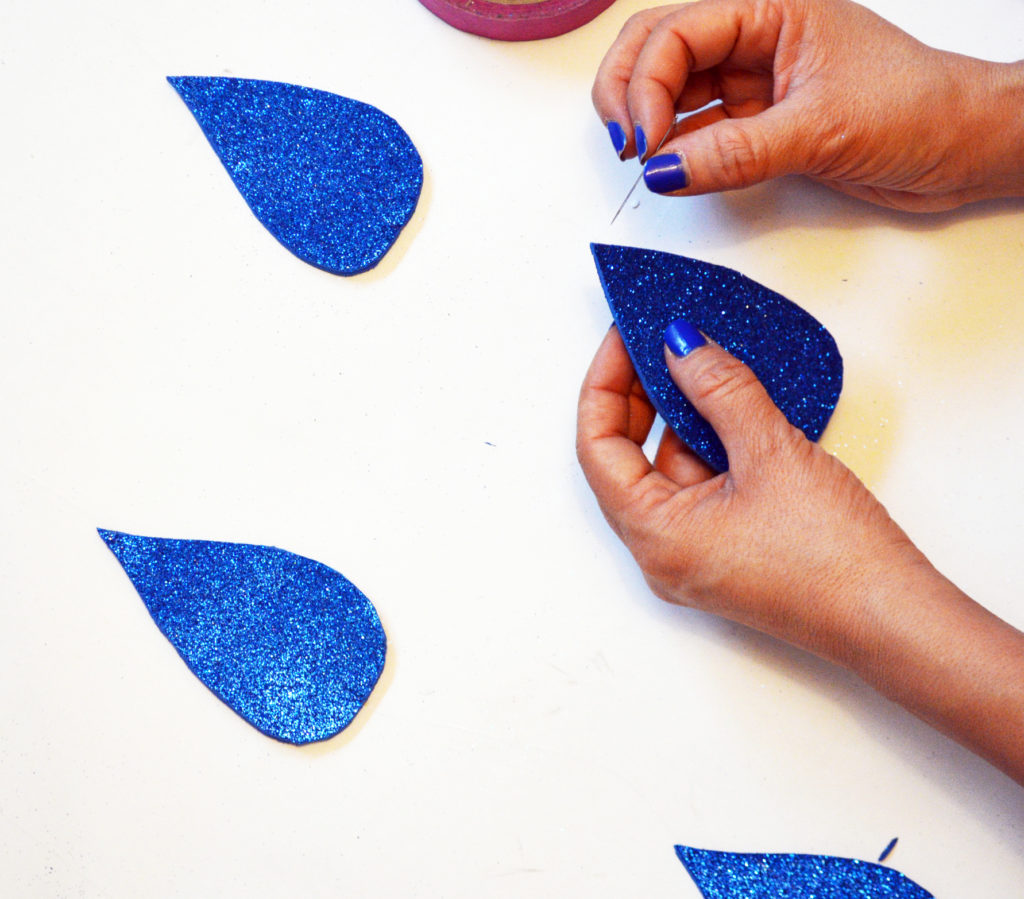
6. sew the thread to the top and bottom of each raindrop (to make the garland strand)

7. tie (with thread) each garland strand of raindrops to the base of the hanger and space out evenly
8. add the poly-cotton pillow form through the head of the hanger as you FLUFF the cotton to make the clouds
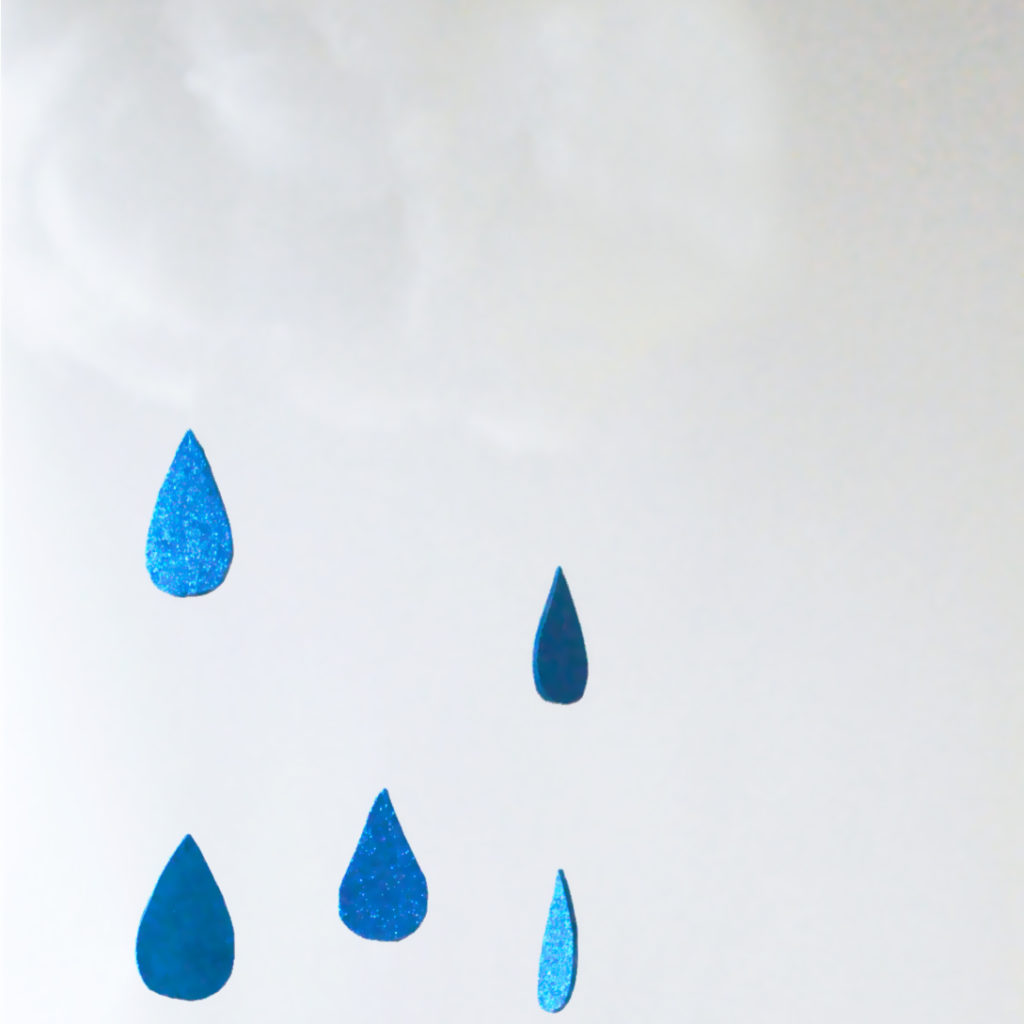
9. install the curved hook (use anchor if need be) to the ceiling
10. with clear cord tie one end of the cord to the hanger head and the other end to the ceiling hook
11. admire your work and pat yourself in the back (feel free to do ahappy dance!)
TThe playhouse depth was pretty far from the wall so I didn’t want to just add a flat wall decor (though we did add fabric triangle banners); I aimed to add a decor that gave a balanced height to the playhouse. Yep, im very picky esp for my clients. Seriously, when i know an idea i have is going to make a huge difference, I try my best to find a way to make it happen. So after a delicious jolt of caramel latte in my system, i came up with the idea of hanging (from the ceiling) fluffy clouds with pretty raindrops to fill up that empty space.
THE SCOOP / MAIN EXPENSE
This project is NOT expensive to make at all. The cost is really your time invested in making these adorable fluffy clouds with raindrops. The main material expenses are the clouds + raindrops + the hanger holder for each. But the cool part is that if you use old pillow inserts (must be white!) then you pay $0 for the CLOUDS, then the next time you pick up your dry cleaning keep the hanger so the cost for the structure is $0 awesome dollors! That leaves you with the other main expense …. the raindrops. The foam sheets that I used to create the raindrops cost $1.59 for each sheet. I know, crazy awesome!!! I used 2 sheets to make a total of 9 double sided raindrops which I turned into 3 raindrop garland strands.