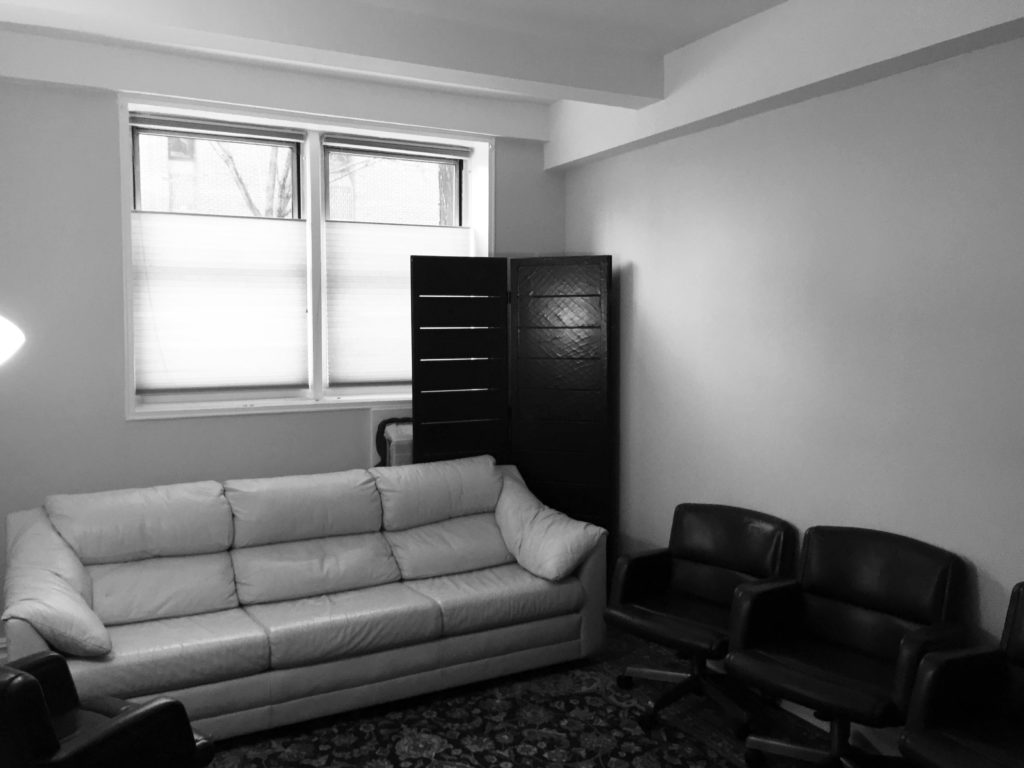
Michael’s new office space came with furniture that he did not like. They were big, bulky, dated, and dark. Did I mention BIG!! I have worked with Michael before so I was familiar with his design style. Which is why I immediately knew, when I opened his email to view the room photos, that we were getting rid of all the furniture. Bye bye furniture!
BEFORE PHOTO he submitted for eDesign
The keep list were a few black and white photos and a favorite colorful rug that he brought into his office from his home. Michael loves gold color hues, vintage mixed with modern, functional with stylish. His wish list was to personalize his office with his style, add art showing nature, make the room feel larger than it was, and have a large office desk with comfy chair on 1 side of the room and at least 3 extra chairs on the other side of the room where he could sit and consults with client. Spoiler alert: I added 6 seating furnishings plus an office chair.
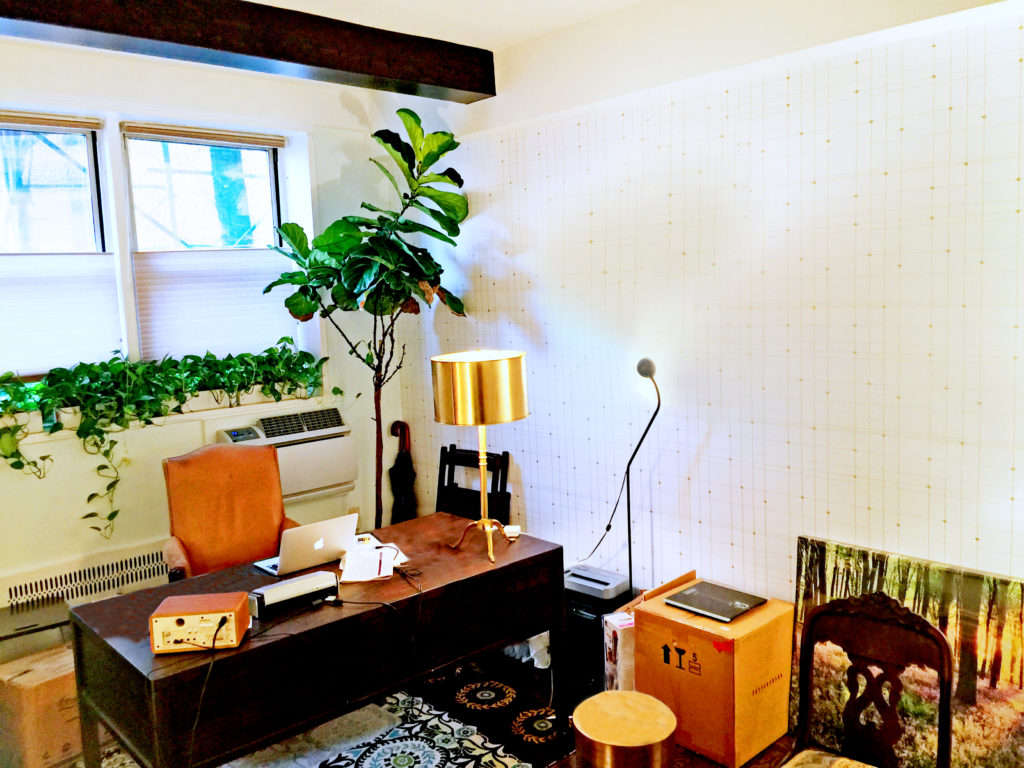
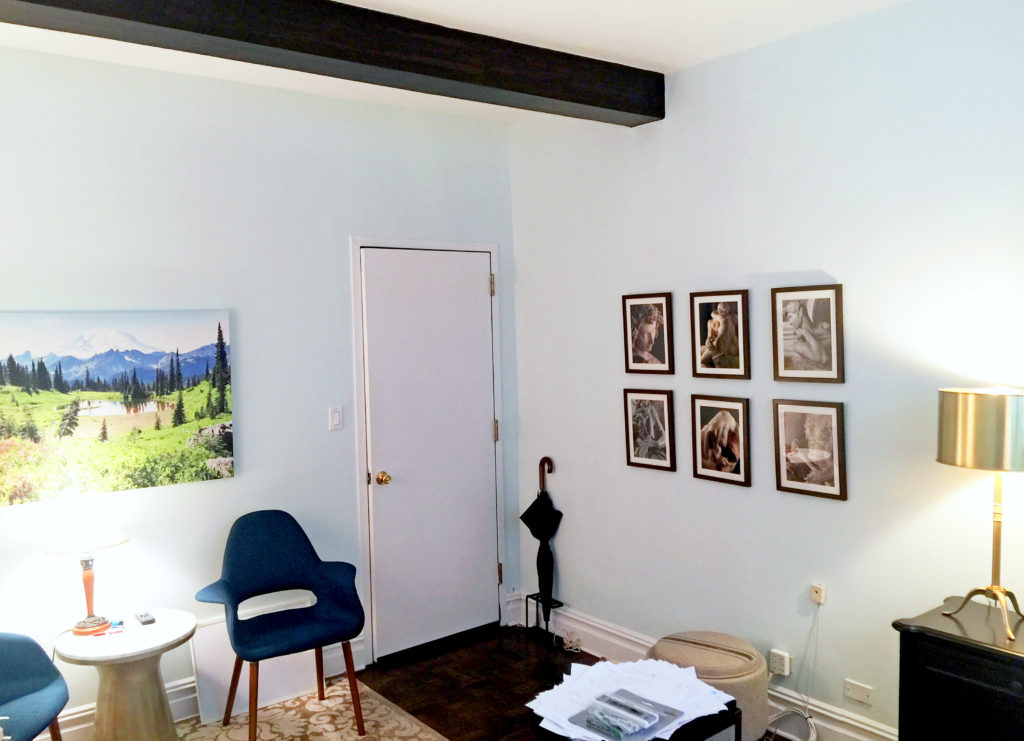
I was so excited when Michael sent me this photo below showing me thus far how the office was starting to look from my eDesign. What a huge transformation already huh?!! Yes, that is a painted ceiling beam and wallpaper on the right side of the wall following the design that I created for him. Scroll back to take another peek at how the room used to look.
MID INSTALLATION OF DESIGN
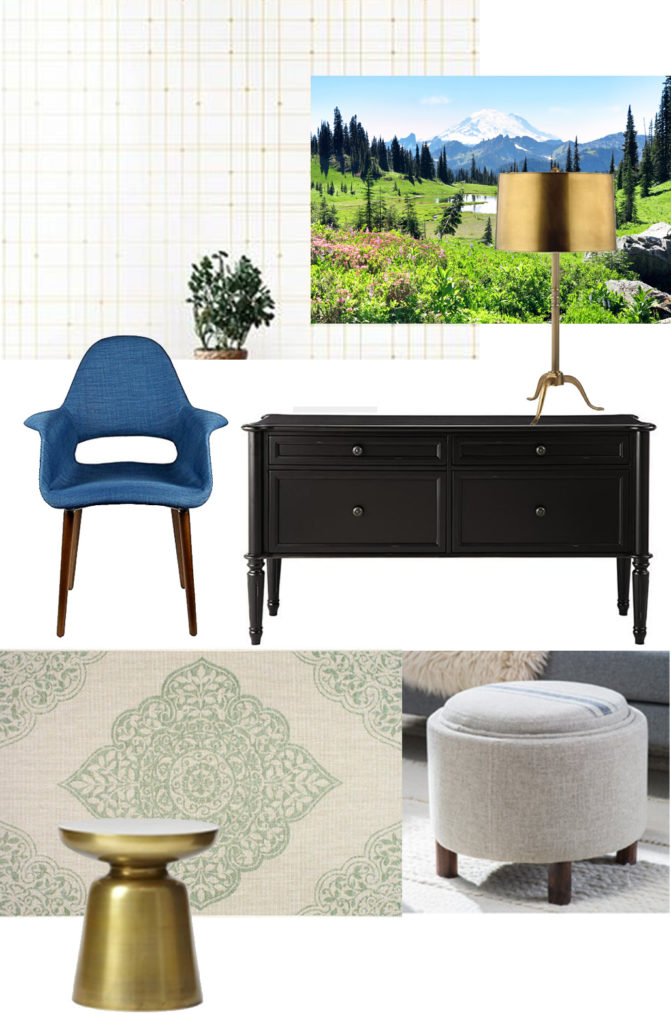
I placed his favorite rug under his new large desk which was placed by the window (see furniture placement layout below), then across from his desk I placed a console cabinet that could fold files (legal and letter size) and serve as storage (supplies etc) especially since his office didn’t have a closet. I added an ottoman that could also be used to store items inside, 3 beautiful blue open-back chairs, and more .. check out the furniture placement layout below and a peek at some of the furnishings. I even added to the design a large floor plant and plants that hugged the window to make the room feel more cozy and vibrant.
FURNITURE PLACEMENT LAYOUT of the eDESIGN
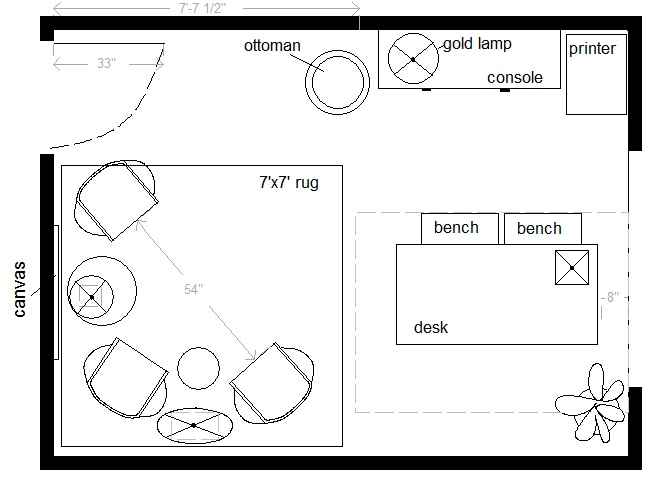
He decided not to add the 2 small benches in front of his desk, but he did implement everything else so well.
1 wall was to be wallpapered (with removable wallpaper!) the rest were to be painted a light serene blue, and and the ceiling beams were to be painted a dark brown (btw: they turned out ah-mazing!!!) I added gold accents with a desk lamp and a round stool. And I wanted to give his conference / consult area more substance besides chairs so I grounded it with a large square area rug.
HERE ARE SOME FURNITURE ITEMS FROM THE eDESIGN
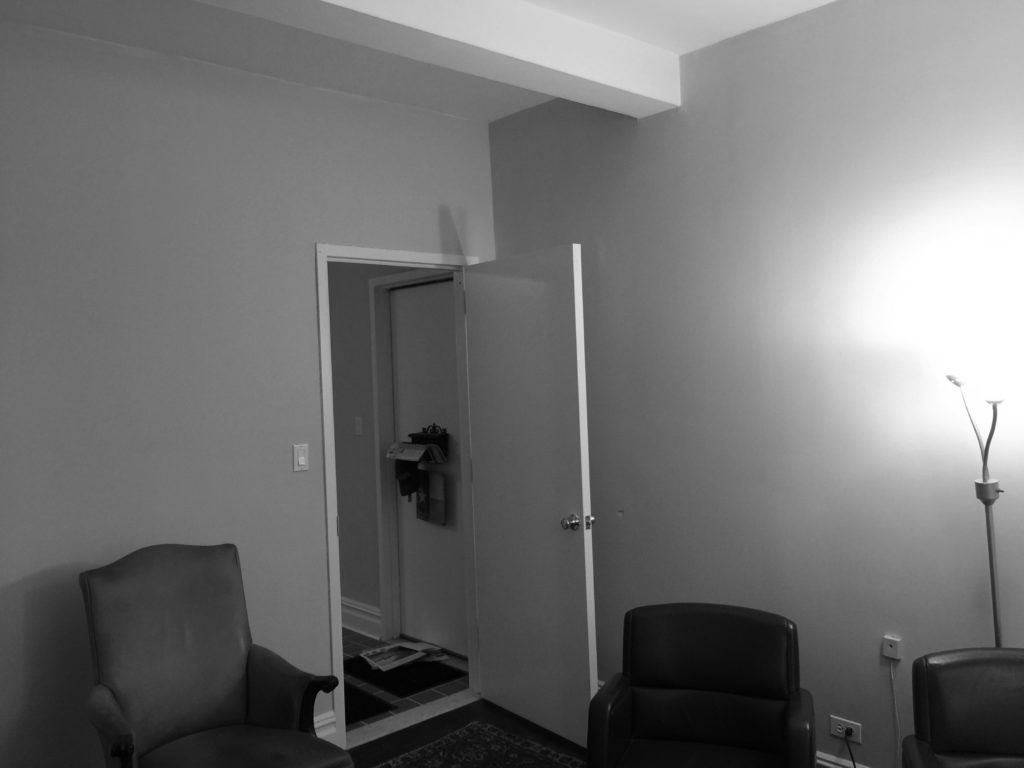
Michael graciously shared photos on how the design turned out. So below is a BEFORE photo peek of the office and and AFTER photo. Make sure you look up at the ceiling beam. Doesn’t it balance the room beautifully. Dark wood floors with dark brown ceiling beams. I always love when clients share photos with me, it ALWAYS brings a smile and joy to my heart.
BEFORE PHOTO
AFTER PHOTO
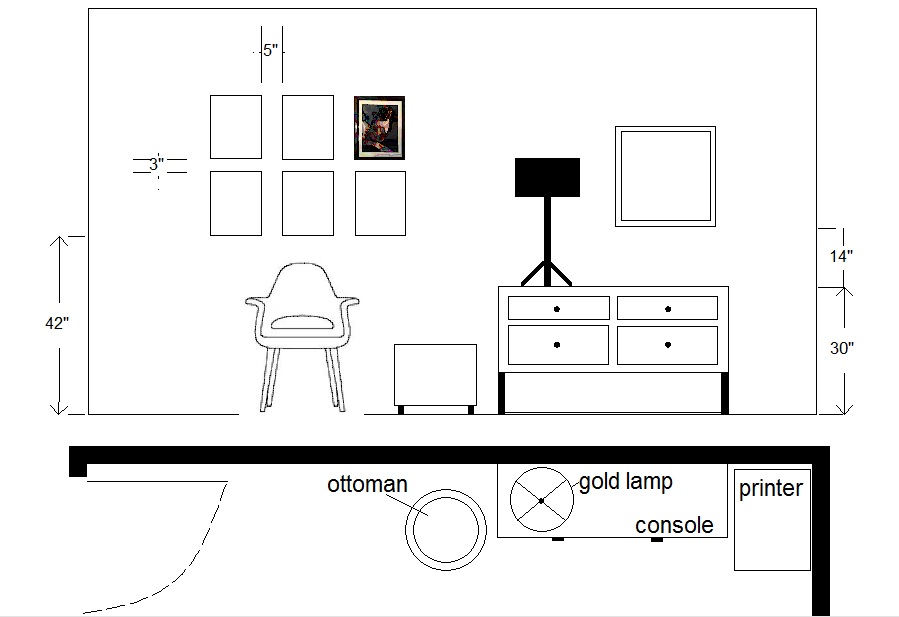
ELEVATION DESIGN – PLACEMENT GUIDE
